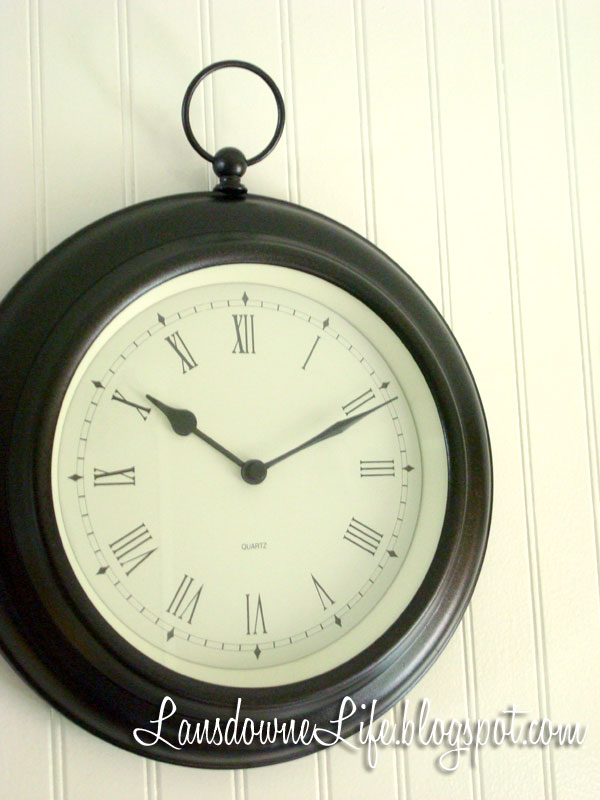
I’ve had this clock for almost 10 years and was actually really sick of it. It reminded me of the giant pocketwatch the white rabbit has in Alice in Wonderland when he’s running around screeching about being late. That annoyed me for some reason.
Before
The clock works fine, though, so my initial plan was to rip off the stopwatchy loop at the top. But the loop was stronger than I was, and so it stayed. My next thought was just to buck up and buy a different clock with the money left in my budget. I actually had my eye on something more modern at Crate & Barrel, but I felt wasteful replacing something that didn’t need replacing.
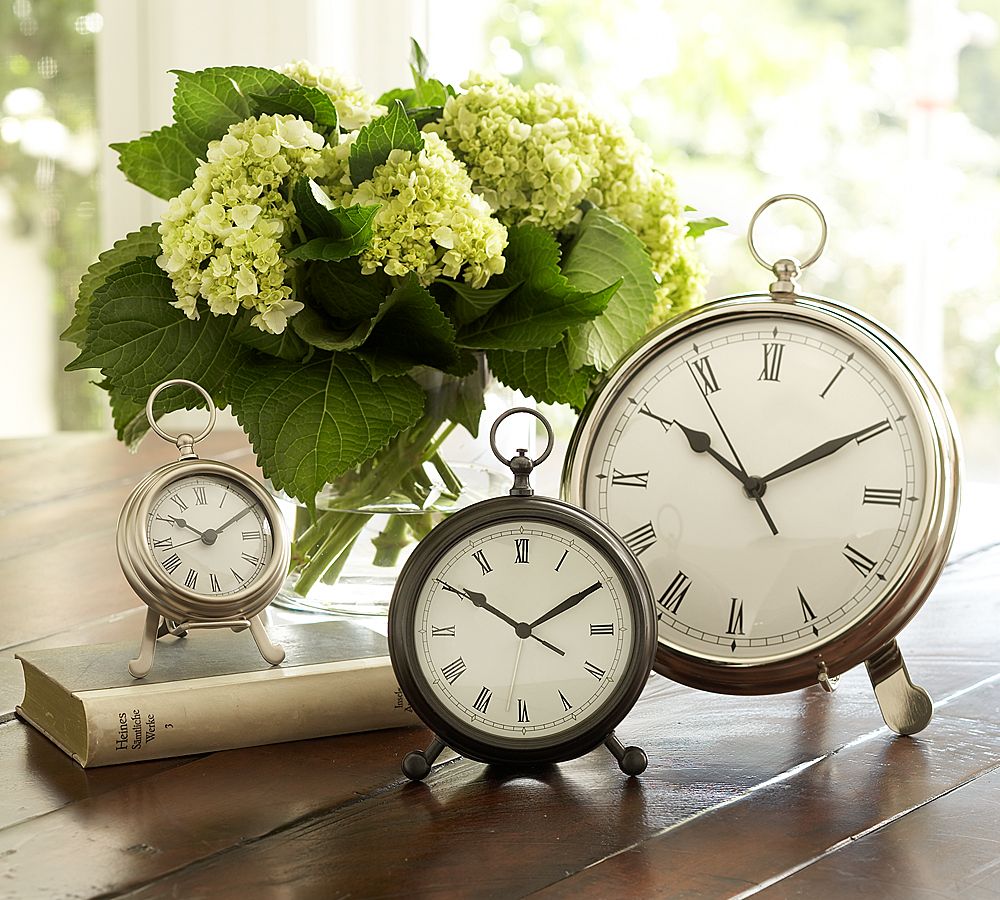
(photo: Pottery Barn)
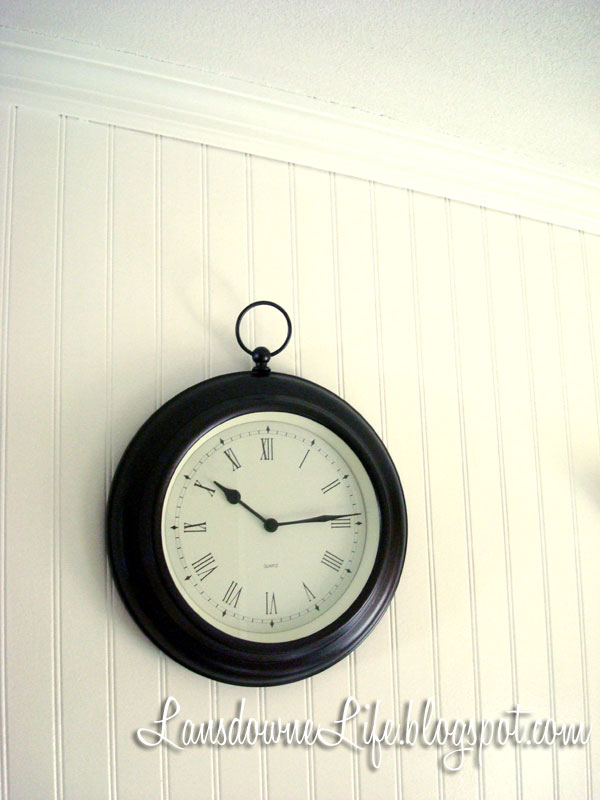
Then browsing around for nothing in particular, I saw these almost identical clocks on potterybarn.com. Sure, they might be a little more refined than mine. (They have a second hand.) But really, they are almost identical. Even the numbering and minute-tick design on the face is the same! Mine came with an easel stand, but I always preferred to use it as a wall clock. The largest one on Pottery Barn is the exact same size as my clock. Suddenly having a $59 doppleganger made my old clock seem a bit more attractive, so I decided to make it work.
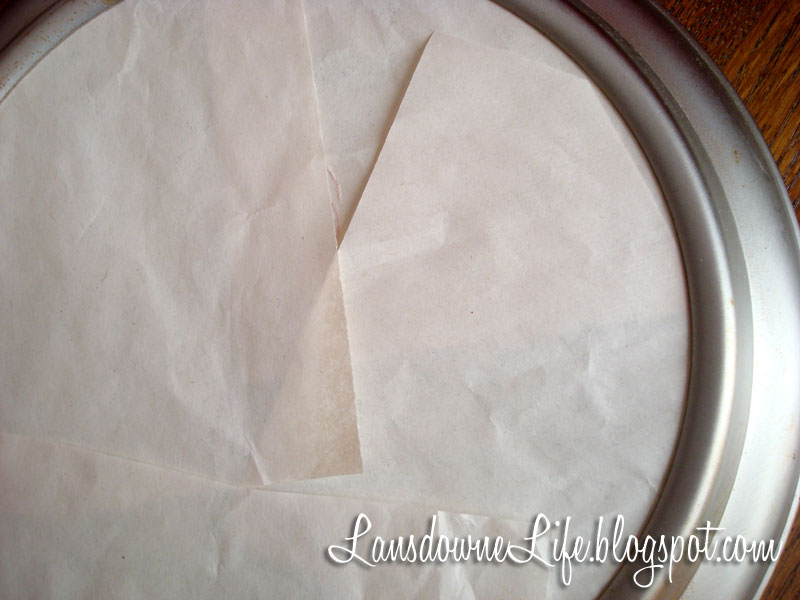
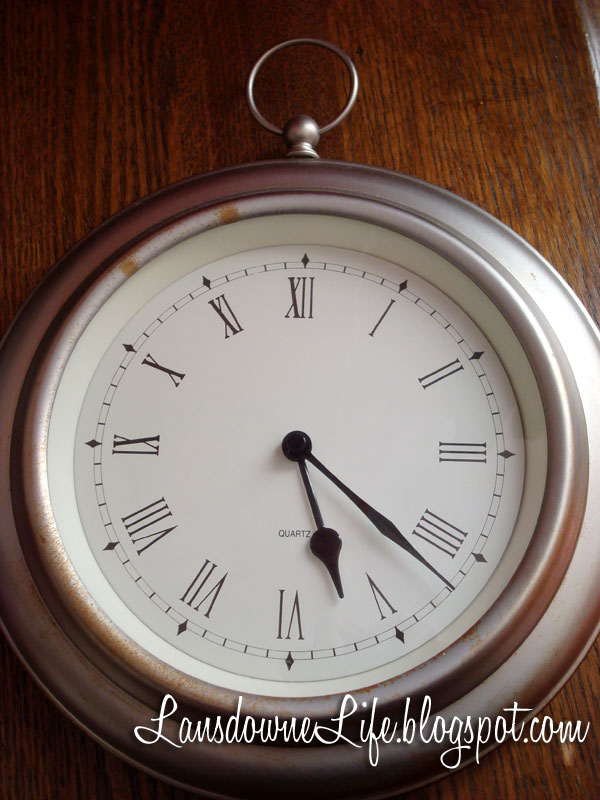
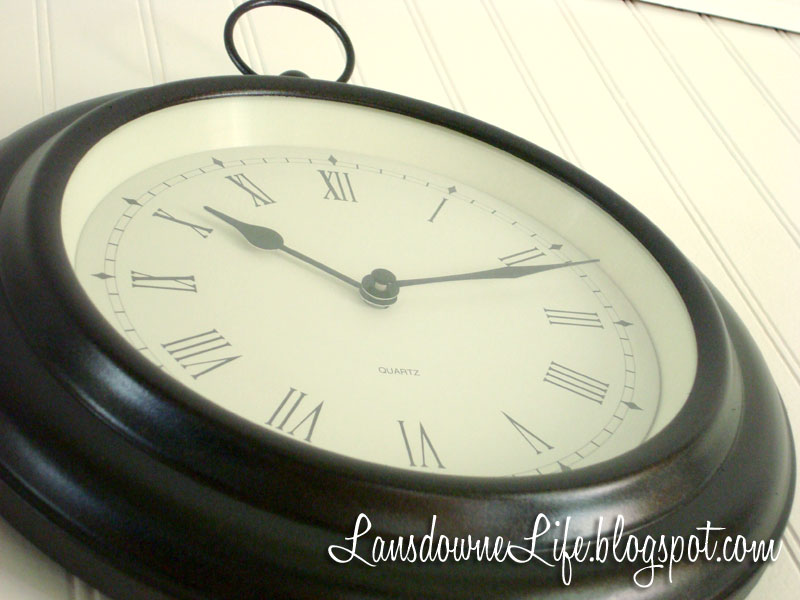
But it did need painting. There was some rust starting, and it wasn’t attractive rust. The brushed nickel finish didn’t show up well against the white beadboard either. I masked off the face by slipping some paper between the frame and the glass. Then I spray painted the clock with some oil-rubbed bronze paint I bought for another project.
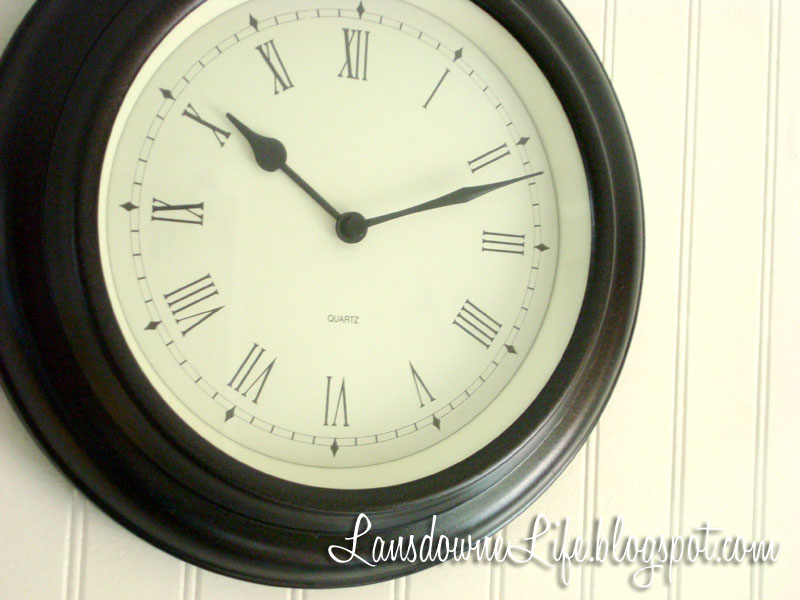
What’s one more metal finish, when you’ve already got a party of metal finishes going on, right? The oil-rubbed bronze reads more as brown anyway. And it shows up better on the white beadboard than the brushed nickel did.
I did have a bit of a mishap with some overspray getting under the paper and sticking to the glass. I cleaned it up with some nail polish remover, and it came off almost too easily. The paint was dry to the touch, but it hadn’t fully cured yet. I’m not sure if that made a difference.
I’m loving the contrast. I think it looks pretty great!
……………………………………………………………..
How I spent my $100 budget (so far)
1 qt. Semi-gloss wall paint … $11.42
Curtain rod … $4.49
1 qt. Semi-gloss paint for vanity and mirror … $11.42
Frame … $0.01 (yep, for real)
Mirror … $26.91
Bathmat … $7.47
——————-
Total spent … $61.72
Amount left … $38.28
……………………………………………………………..
Follow along with me as I give our upstairs bathroom a face lift with a budget of only $100.
1. Another bathroom update: Before
4. Curtains made from a tablecloth
6. No cost vintage boxer wall art
8. Hang a pretty book as artwork