I want to replace the bronze weatherstripping on our front door. I found some instructions and a video on YouTube on how to install it, but I thought maybe a practice round was in order. The front door has a arched top and it was intimidating me a little. I want to make sure I know what I am doing before I tackle it. Our back door is standard and rectangular, so I thought it would be an easier first try.
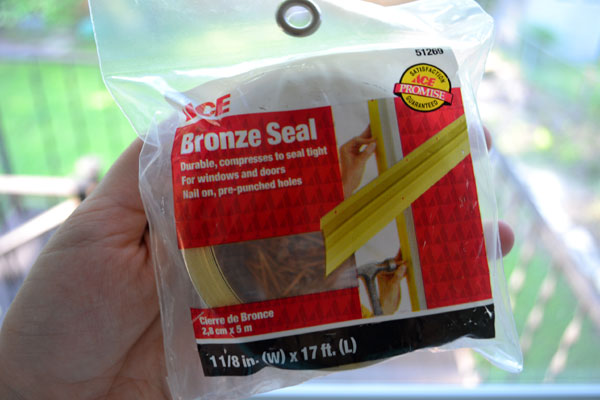
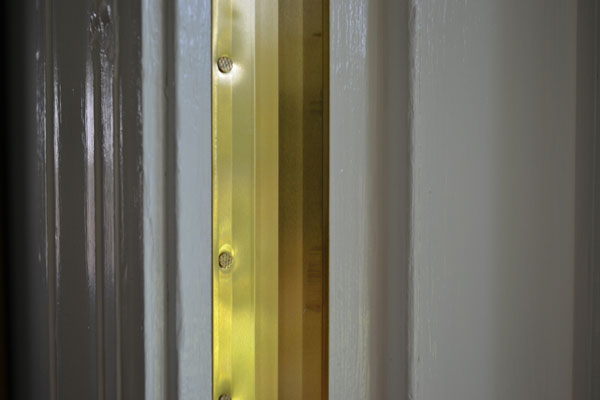
Even though it looks thin, bronze weatherstripping (also called “spring bronze” by some) was referred to as the “gold standard” of weatherstripping on a couple of websites. It’s meant to last 30+ years and looks classier than peeling foam.
The back door frame was pretty ugly and basically unfinished. It was this way when we bought the house. I added self-stick rubber weatherstripping last winter when the drafts got to be too much, but it made the door (more) difficult to close and already it was peeling off.

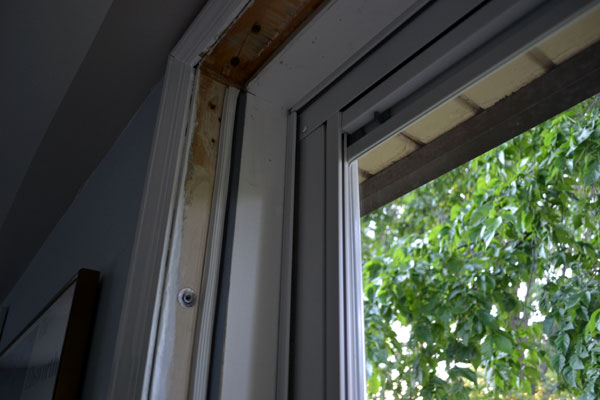
Before I could install the new bronze weatherstripping, I needed to prep the doorframe itself. I peeled off all the old weatherstripping. Then I caulked all of the cracks with painter’s caulk, which had never been done. I even sealed the gap between the door frame and the storm door frame. (All that’s gotta help with the cold winter drafts, right?) Then I primed and painted the entire door frame. Already looking better than it ever has.
It was at this point I realized this door might not have been a very good specimen for my practice round.
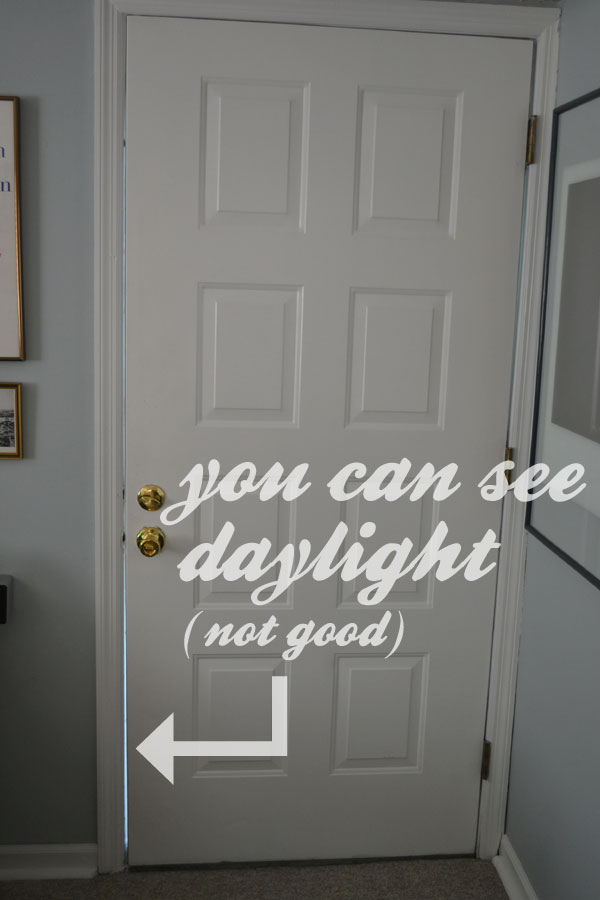
The door is out of square with the frame, and it rubs in the upper left corner. It also doesn’t meet the stop at any point. But it still closes and locks, so I guess it’s not a major concern at this point. The only real problem is that there is a wide gap all the way around the door.
Because of the sub-standard fit, I decided that it would only be possible to put the bronze strip on the sides of the door and skip the strip on the top.
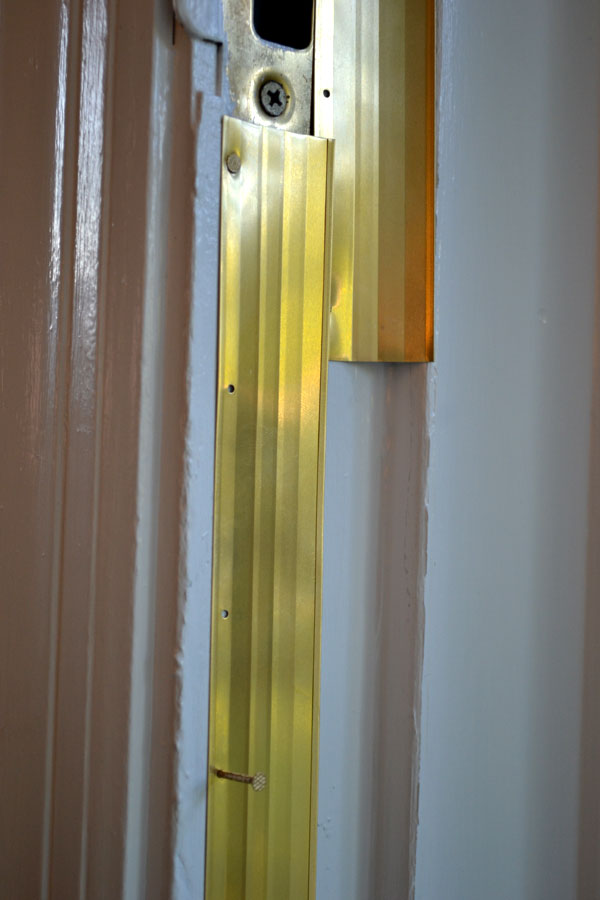
The actual application on the frame of the door was super easy. The kit I bought came with matching nails and the holes pre-punched. I cut lengths to fit and tacked it up in about 90 minutes.

And I sort of feel confident enough to tackle the front door now.


hi
where do i get the strip in the UK?
Hi Sean,
I’m not sure! I would try a hardware store, maybe one that specializes in older houses/restoration? The big chain home improvement stores here don’t carry it, but the smaller ones do.