Lansdowne Life

  • About/Contact
  • DIY Projects
    • Craft Projects
    • Wall Art
    • Party Ideas
    • Furniture
    • Sewing Projects
  • Decorating
  • Kid Stuff
  • Shop

Rudolph gets a makeover

November 5, 2010 by Erin Heaton

Don’t worry, I haven’t started the holiday decorating just yet. Spray painting weather is quickly fleeting and I wanted to make sure I squeezed this project in before it got too cold.

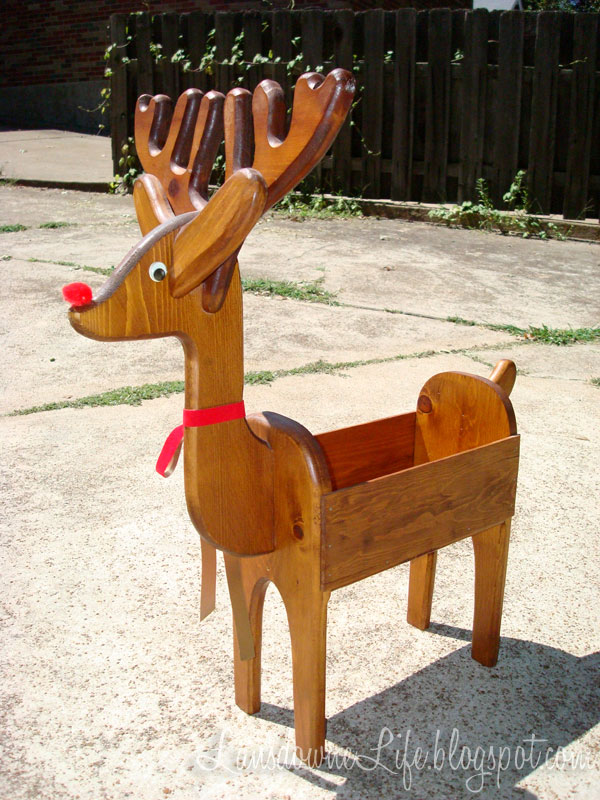
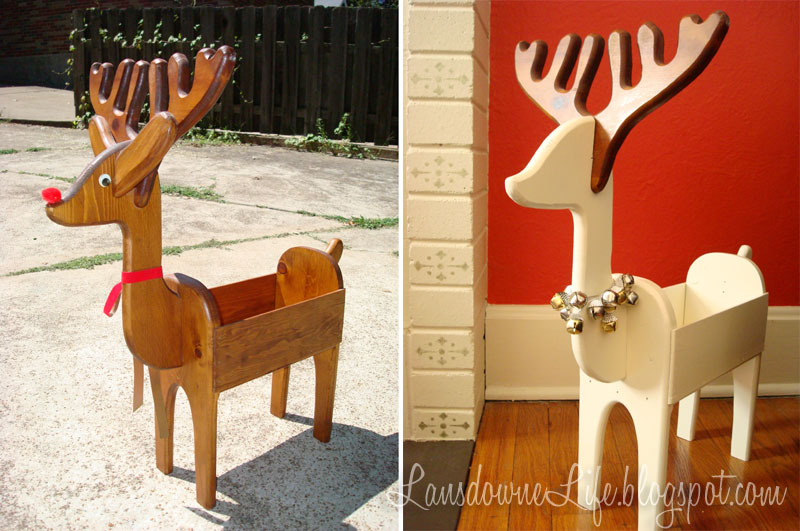
Remember this craftastic reindeer I acquired a few months ago? My grandma coerced me into taking it and although goofy, I knew I could transform it into something more in line with my tastes.

First, I ripped off the flimsy neck ribbon, googly eyes and puff ball nose. The eyes left a bit of glue, so I gave them a quick sand. The ears were a little loose, so I pried them off too. I intended to reattach them, but then I realized the reindeer looked less cartoonish without them. Who knew under all that junk was a slightly sophisticated silohuette?

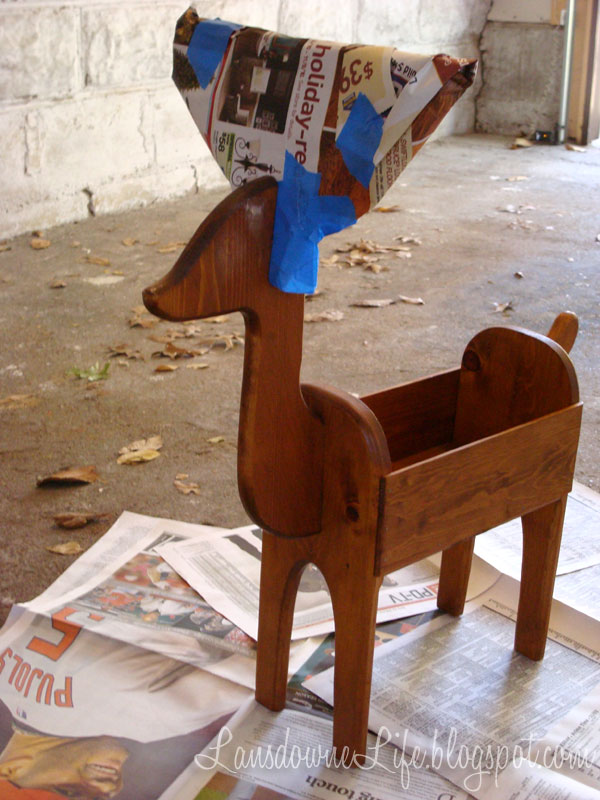
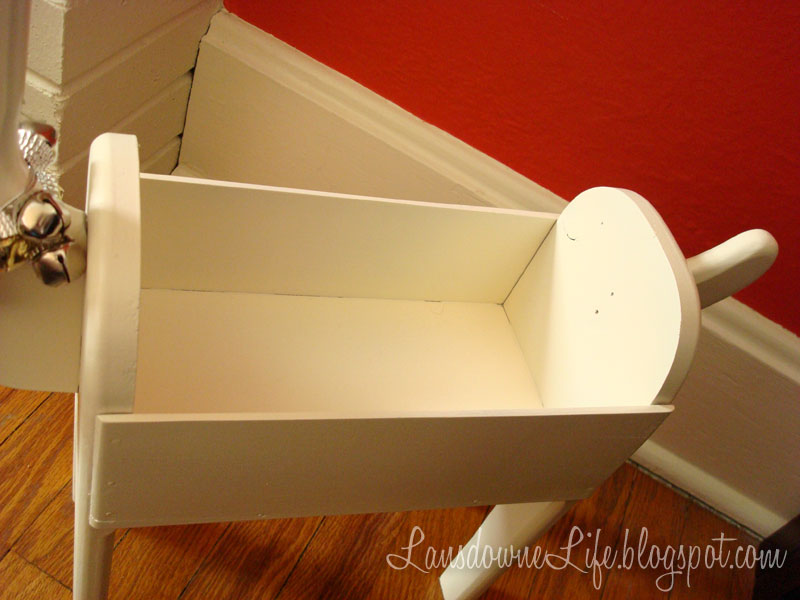
I wanted to leave the antlers unpainted, so I masked them with painter’s tape and some newspaper.

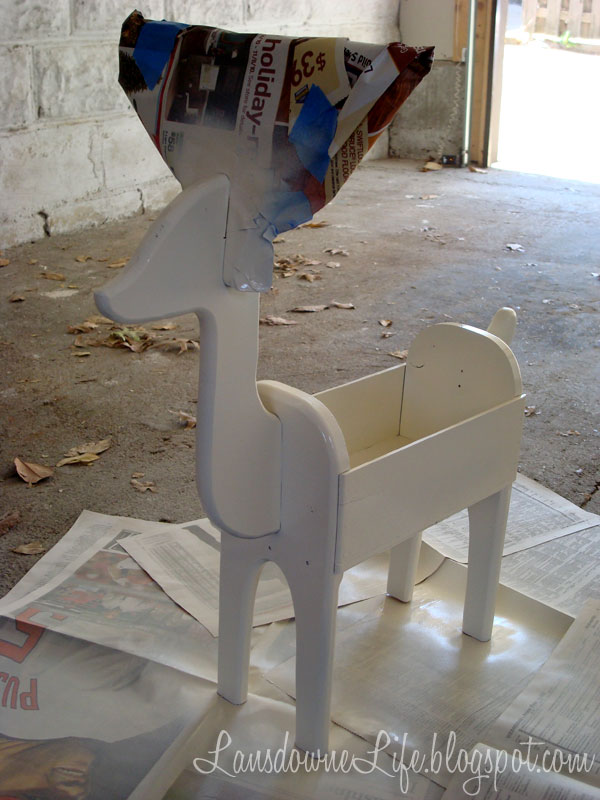
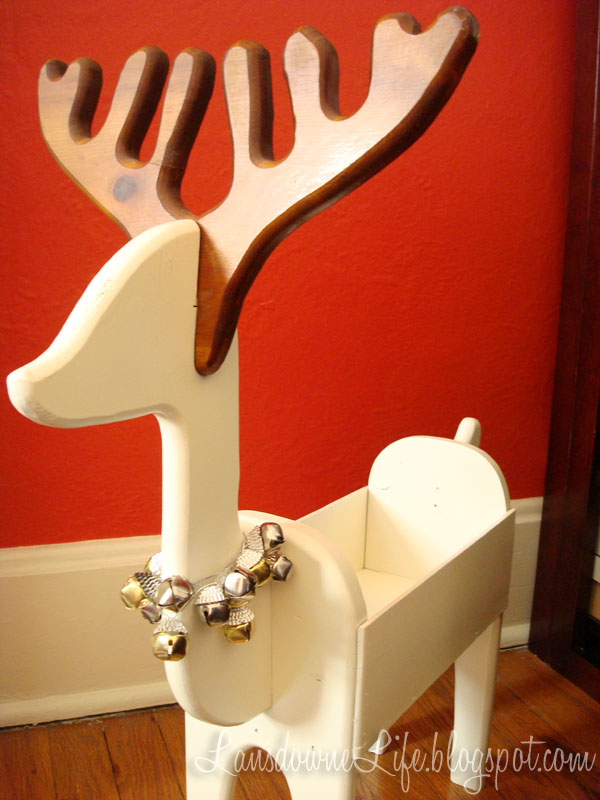
Then I gave it about three coats of Valspar spray paint in a shade called Churchill Hotel Vanilla (satin finish). Strange name aside, it’s a nice creamy white without a hint of yellow.

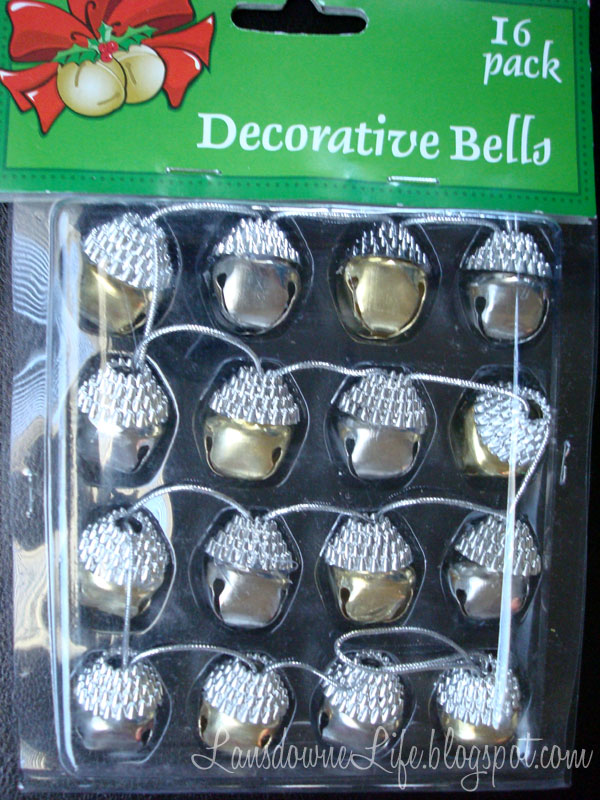
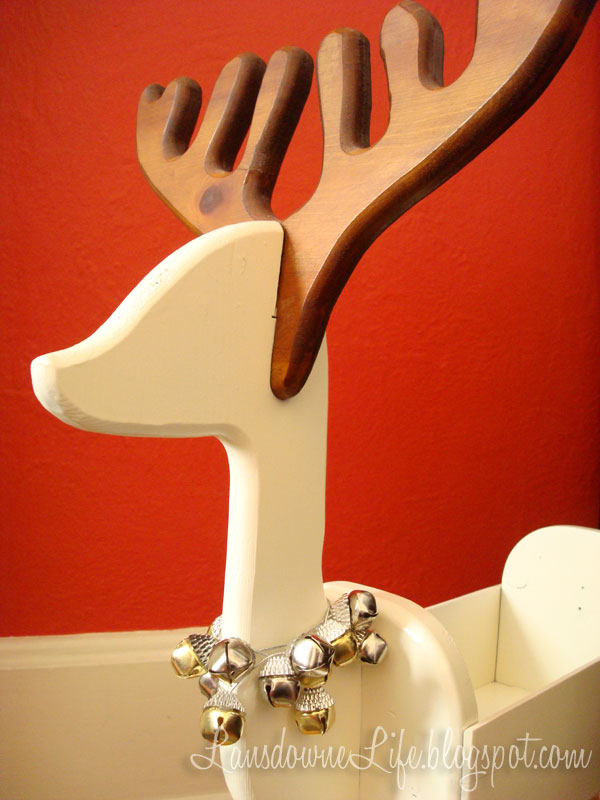
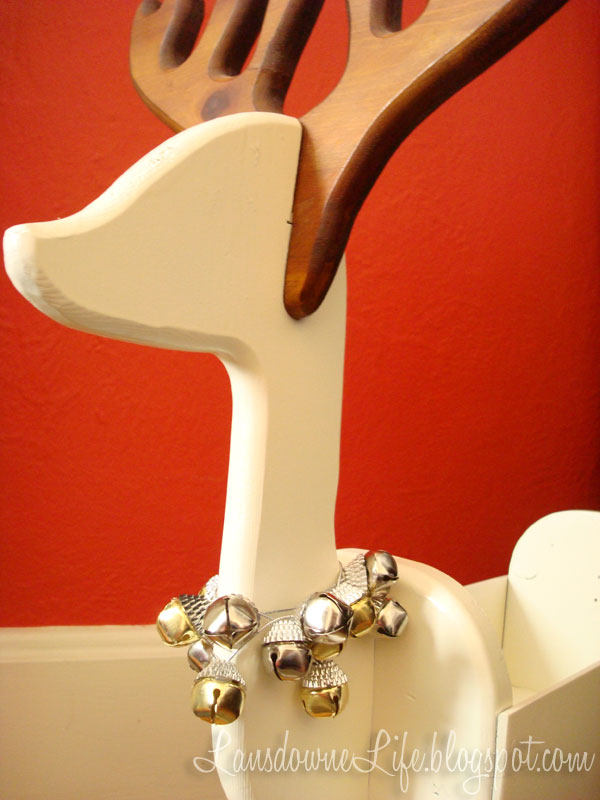
After the paint was dry, I noticed Rudolph was looking a little plain. So I picked up this gold and silver jingle bell garland at Dollar Tree to make a necklace/collar.

The garland was pretty short, but it was the perfect length to go around the neck three times. The ends of the garland had loops on them, so I hooked the loop on one end over the first bell on the other to secure it. So easy and no glue or adhesive involved. The best part is that I can take it off at any point. I love things that are easily reversed.

I think that little bit of glitz was just what it needed.

I haven’t decided what I should put in the shoebox-sized body yet. Probably small wrapped gifts as we get closer to Christmas. I have to put it away between now and then because a certain toddler thinks this is a ride-on toy.
This is such a dramatic makeover that it warrants side-by-side before and after photos!

P.S. As I was taking these photos in a very small, clear corner of our living room, I turned around and just had to laugh at the mess I was excluding from the photos.

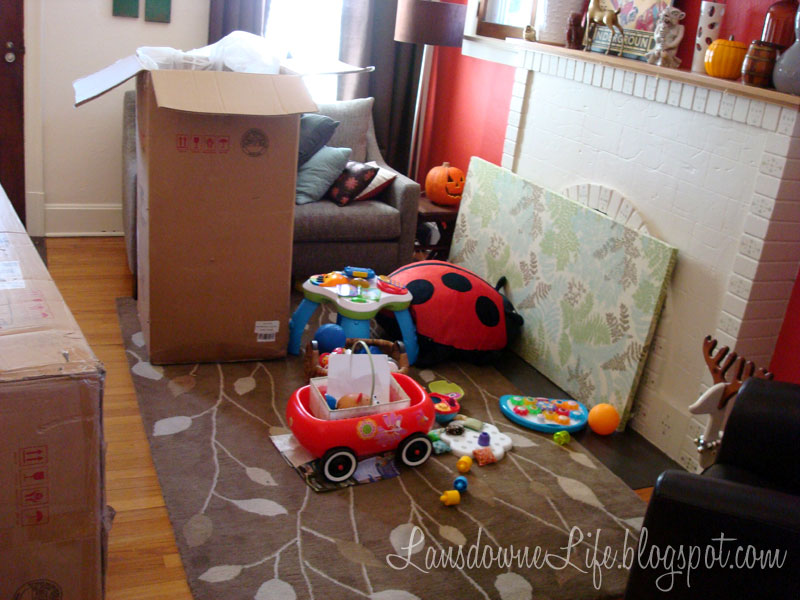
See the reindeer in the lower left corner. More about what’s in those giant boxes in a later post!

Related Posts

  • Snowball stocking stuffer surprise ballsSnowball stocking stuffer surprise balls
  • Upcycled lid Christmas tree ornamentsUpcycled lid Christmas tree ornaments
  • Last minute DIY advent calendar + FREE printable number tags!Last minute DIY advent calendar + FREE printable number tags!
  • Ugly craft makeover: Wooden toy sewing machineUgly craft makeover: Wooden toy sewing machine
Share this! Share on facebook
Facebook
Share on pinterest
Pinterest
Share on twitter
Twitter
Share on email
Email

Posted Under: Uncategorized Tags: Christmas, Ugly Craft Makeover

Comments

  1. Charmed Earth says

    November 8, 2010 at 10:04 pm

    Super Cute! I love it. Now I know what to do with one if I ever come across another–I think everyone in my family has/had one at one point! They are perfect for cards, too!

Hi, I'm Erin Heaton,
and I make things.
Lots and lots of things.
Read More >>

Music Note Art Prints - Visit my Etsy shop!
13 Tips for a DIY newborn baby photo shoot 14 Tips from my first year selling on Etsy How to make drawer pulls from nuts & bolts Kids Birthday Questionnaire FREE Printable

Archives

Coupon matchup website for St. Louis area grocery stores - Schnucks, Dierbergs, Fresh Thyme, Whole Foods

All content copyright © 2010–2025 Lansdowne Life / Erin Heaton. Shoplifters will be prosecuted.
Terms of Service | Disclaimer