I wanted to make a set of matching “Memory” cards for Elise for Christmas. I made a set for my nephew last Christmas using some unfinished wood craft circles and had planned to do the same for Elise.
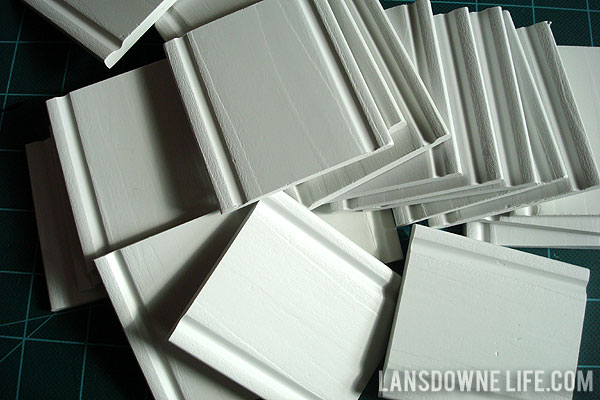
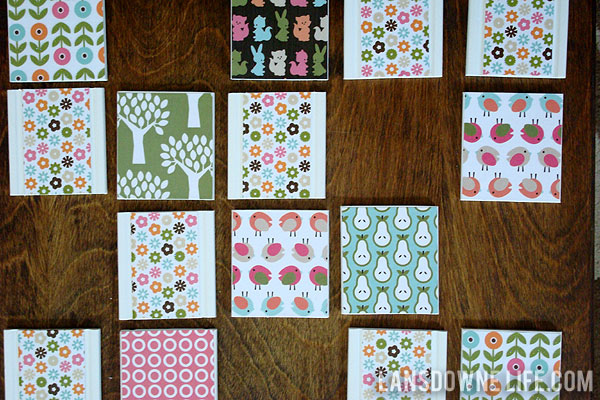
When I was cleaning up my workbench, I found a bag of pieces that go with our window blinds. The blinds were already installed when we moved in, so these pieces were just surplus. Among them were 20 small white wooden rectangles. They were already painted and free free free. Just perfect for my memory game!
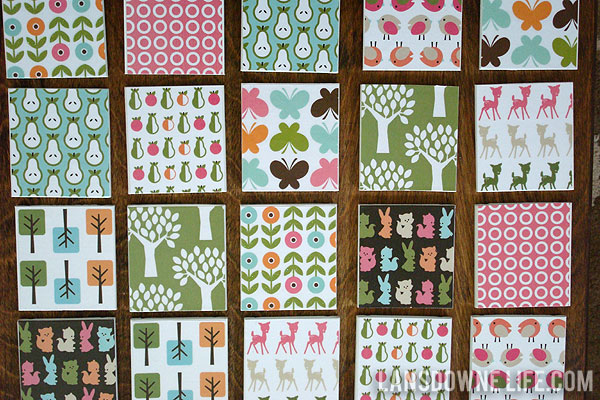
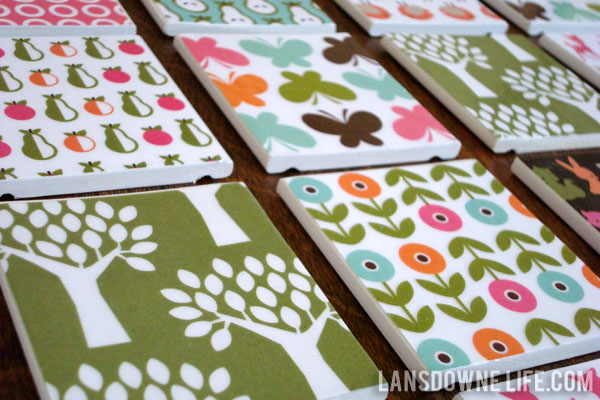
I used coordinating scrapbook papers I had leftover from Elise’s birthday party decorations. I selected papers with shapes that were easily identifyable like animals, flowers and fruits. To make it easier for Elise to match, I tried to cut the exact same portion of the pattern for the two matching pieces. But in some cases I didn’t because I would have been cutting two random holes out of the 12″ x 12″ paper.
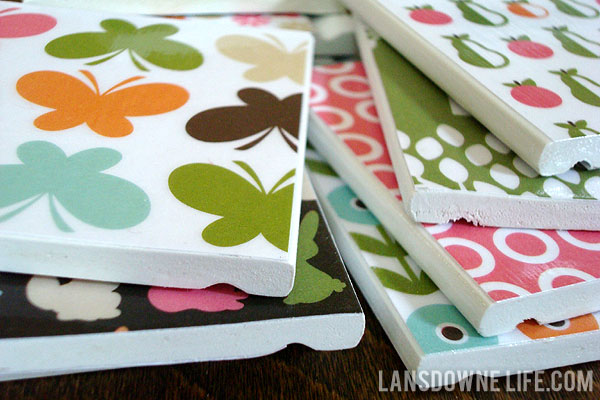
Some of the rectangles had raggedy edges, so I gave them a quick sand. Then I Mod Podged the papers on the rectangles. Once everything was dry, I sprayed with a glossy triple-thick clear spray.
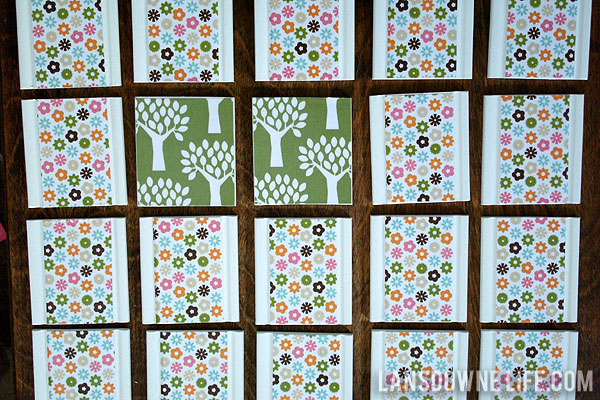
The rectanges are really thick and durable and can definitely withstand a toddler’s tosses. And because they are sealed, they are protected against sticky jam hands.

This has to be my most favorite thing I’ve made in a while. The photos don’t convey the wonderful tactile quality of the pieces. All the patterns are supercute together. I had all the materials on hand, so it didn’t cost anything. And I repurposed something that would have otherwise been garbage. It hits on so many levels!
This is part of my Handmade Gift Challenge.


I ABSOLUTELY looooooove this!!! How fun and creative! I’m storing away this idea if you don’t mind 🙂
Store away! I have to admit I didn’t come up with this idea, though. I’ve seen it in several places in blogland.
you. are. a. genius. I have a box of these remnants and didn’t know what to do with them – now I do!
Aw, thanks! Glad to be a help!