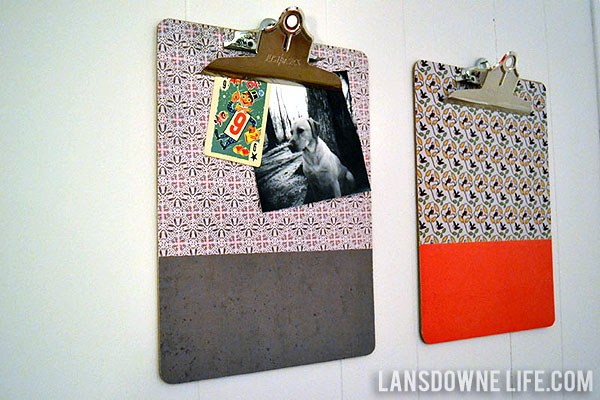
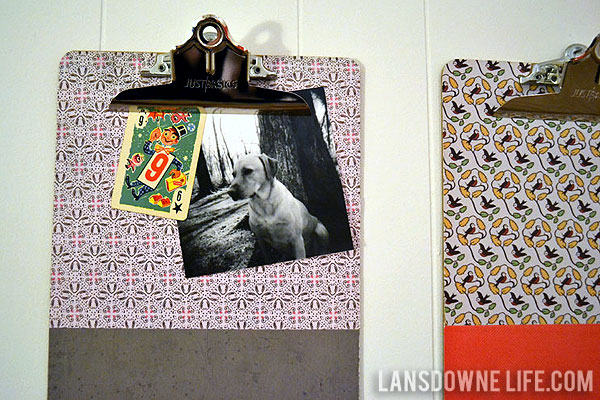
I have a secret love of clipboards. You really can’t have too many. They’re super functional and this is an easy way to make them pretty.
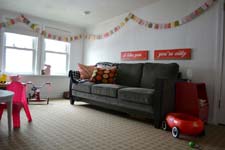
I was initially going to make some sort of empty-frame-with-clips contraption for the playroom to display ephemera and eventually Elise’s artwork, but after thinking about it for a while, clipboards just seemed easier and more practical. Plus when the decor changes, they can have another life someplace else.

I picked up two plain clipboards from Office Max for $2 each. (They also have a half-size clipboard, which is a bit cheaper.) I made a few of these for Christmas gifts in 2009.
Problem is, these clipboards measure 9 x 12.5 inches, so using a single sheet of 12×12 inch scrapbook paper was out. Frustrating. (Yeah, I could have used a sheet of wrapping paper or some such, but thin paper in that size likely would have wrinkled and ripped during the whole Mod Podging process.)
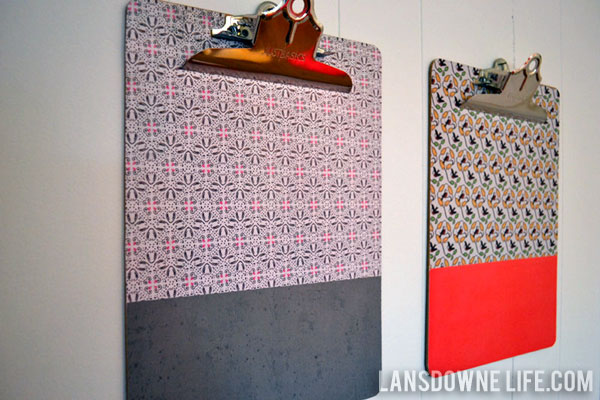
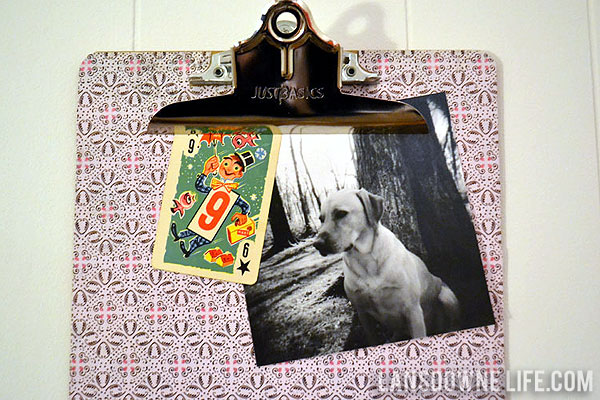
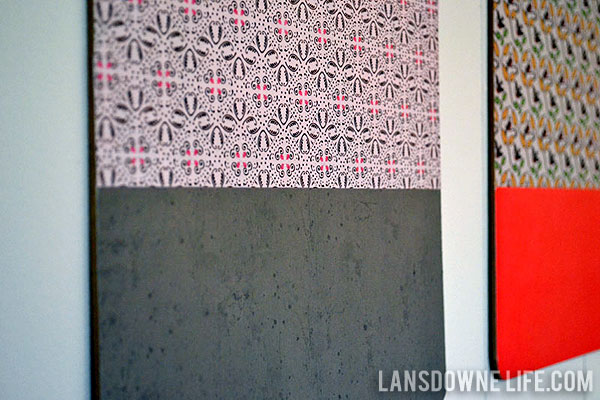
My solution was to piece two different patterns together without it looking like the paper was too small to cover the surface. This might be obvious, but using a full sheet and then piecing in a little half inch sliver at the bottom would have made it look like I didn’t plan. Instead, I planned. I cut two pieces to create an approximately two-thirds/one-third ratio.
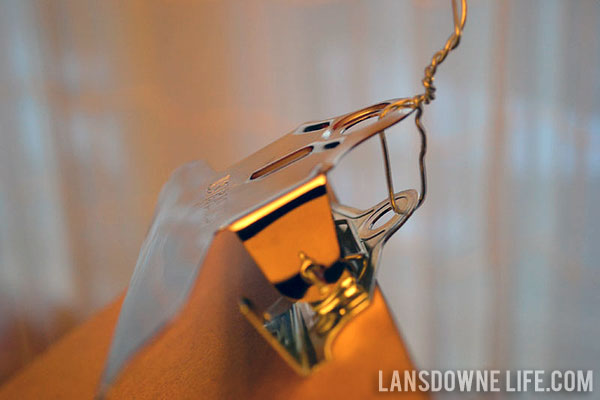
The most important step in the process is to lift up the clip and keep it off the surface of the board. I used one of those heavy duty plastic twist ties from some packaging, but a regular twist tie or a zip tie would probably also work.
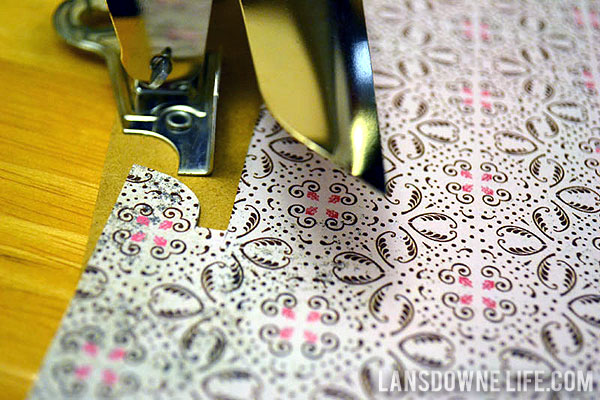
Next, I trimmed the paper to fit around the clip. It’s a little difficult, but it doesn’t have to be exact. You can drive yourself crazy trying to make it perfect and it still won’t be perfect.
All that’s left was to Mod Podge the paper to the clipboard and then seal with a top coat of Mod Podge. You could also paper the backside of the board, but I didn’t do that this time around.


My mini-clipboard gets lots of use. Love it. Thanks again. Great idea for kids artwork!
Simple and practical! Great idea
Glad to hear it, Danielle!
Thanks, Nicole! I see you started your blog! I have to go check it out.