When I tell people I save lids or jars or whatever… I get strange looks.
Like, why on EARTH would you save such GARBAGE??
Well, that’s one reason. To prevent more GARBAGE going into the EARTH.
But there’s also creative potential in re-using this stuff.
Exhibit A: Dollhouse.
Exhibit B: Lid Tree Ornaments.
Exhibit C: Junk Art.
Maybe I don’t need to be explaining this to you. Why else would you be here if you weren’t already on board?
Anyway, I have gotten some interest in knowing how I save things, and how I prevent stuff from multiplying and taking over my house. So here they are:
My rules for saving junk
1) Don’t save everything. You’ll turn into a hoarder.
Watch an episode of a hoarding show once in a while to keep things in check.
2) Only save what you cannot buy (or cannot buy cheaply).
Time and storage space is money too.
3) Only save something when you have a specific purpose in mind. (See #1.)
You can’t make every craft or project. If you don’t have a plan for something, just recycle it.
4) Save things in a central location
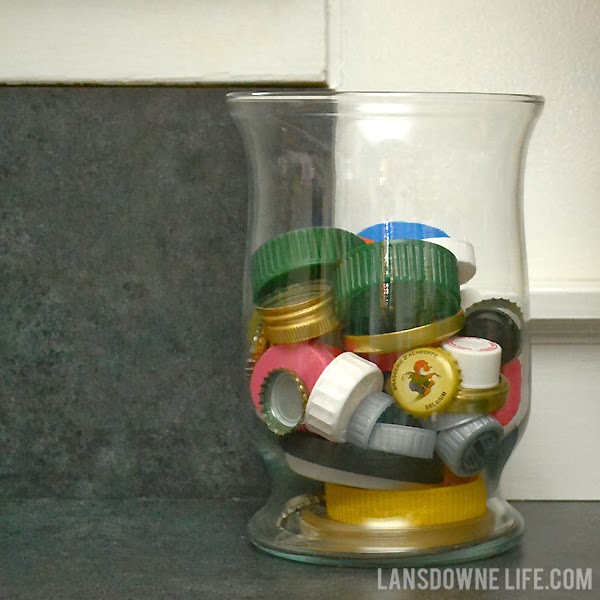
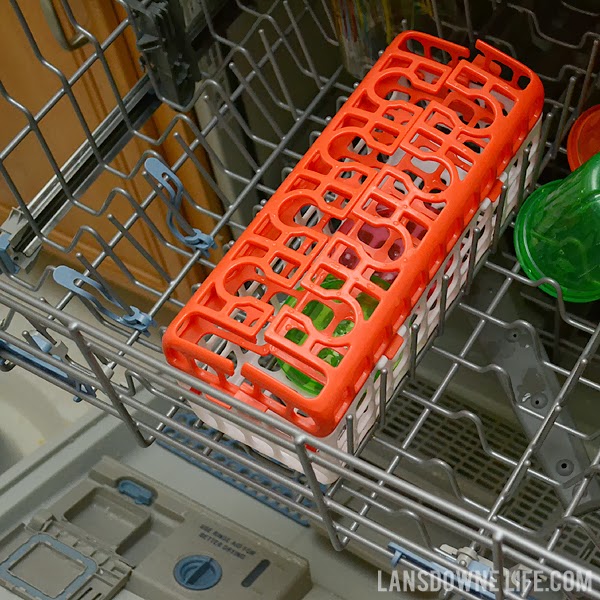
I actually have a two-part system. For example, I’m continuing to save lids to make more tree ornaments. I run them through the dishwasher in one of those baskets along with the rest of our dishes. When they’re out and dry, I throw them in a glass jar on the counter. They collect here, contained. Then when that’s full, I’ll move them to my “junk box” in the basement, which is just a large plastic container with a lid. Give things a home: the prevailing organization principle of all time.
5) But keep ‘like’ with ‘like’
There are a few things not contained in the junk box, like a handful of glass jars and things that belong more appropriately somewhere else (scraps of fabric, paper, wood). My junk box is full of random bits that don’t belong anywhere else. Keep ribbon scraps with other ribbon scraps. Fabric with other fabric. Paper with paper. You get the idea.
6) Put a cap on it.
The “junk box” is not allowed to grow. When it’s full, it’s time to purge something or use it up.
—————————-
What are you saving? More importantly, what are you going to make? Let me know in the comments!


