Lansdowne Life

  • About/Contact
  • DIY Projects
    • Craft Projects
    • Wall Art
    • Party Ideas
    • Furniture
    • Sewing Projects
  • Decorating
  • Kid Stuff
  • Shop

Scrap bag fabric flower garland (Guest post from Moonfield Lane)

March 20, 2013 by Erin Heaton

Thanks to Michele for filling in for me today and sharing her project with us! Check out her blog Moonfield Lane for more great decorating and project ideas!

Hi there! I’m Michele and I blog over at Moonfield Lane. I’ve been a fan of Erin’s creativity for a long time, and I’m thrilled to guest post at Lansdowne Life while Erin cuddles her new baby girl.

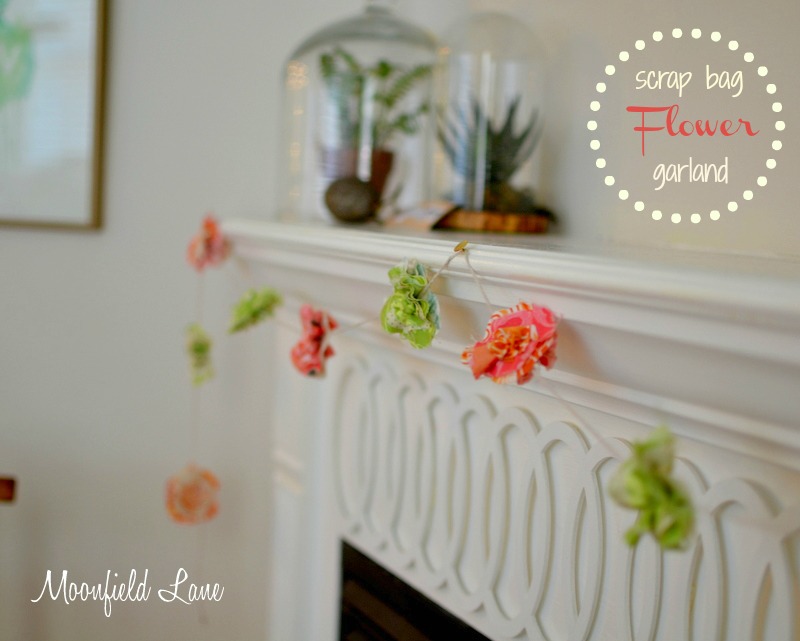
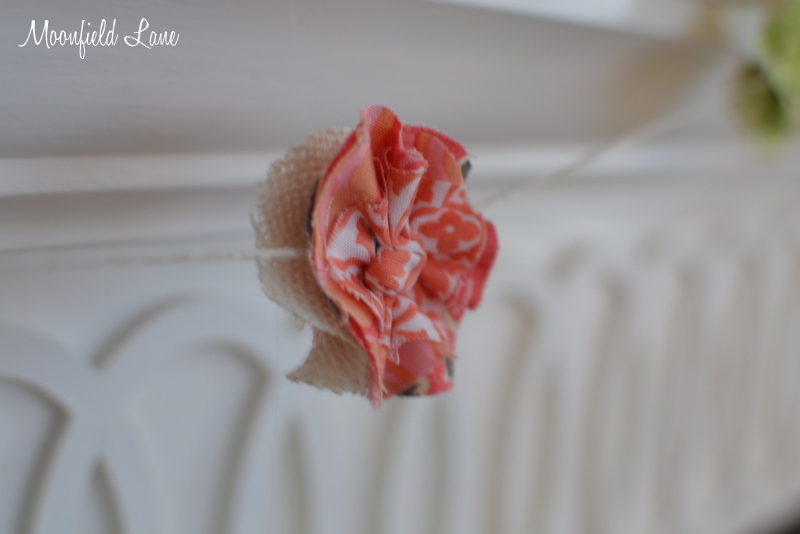
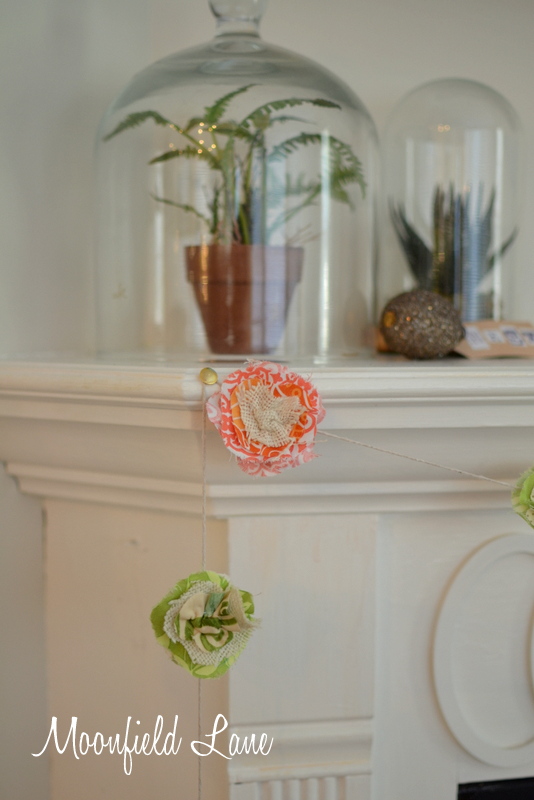
Today (in honor of spring and baby girls) I’m going to show you how to make a flower garland from scrap fabric.

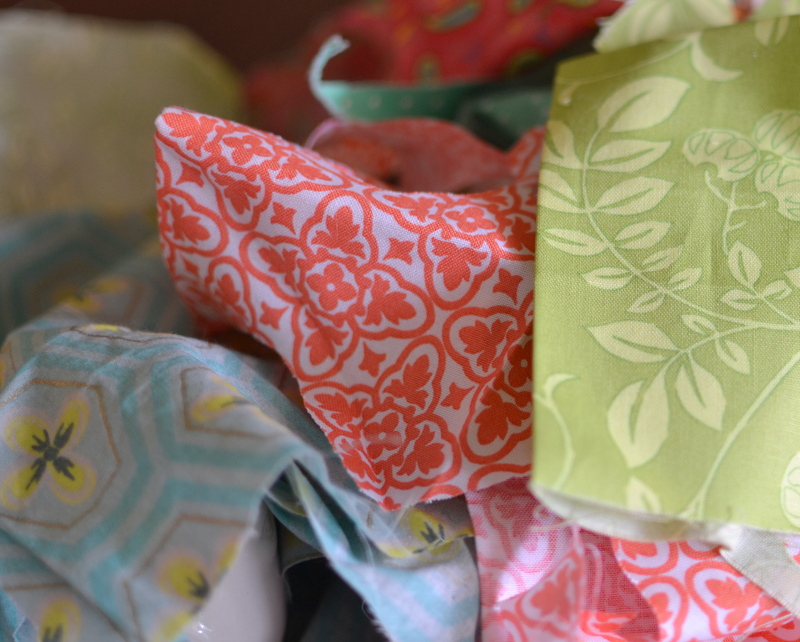
If you sew or if you’ve ever made fabric crafts, you probably have an assortment of fabric scraps already. If you don’t, you can buy fat quarters cheaply at the fabric store, often bundled into coordinating prints.

You’ll need:

  • fabric scraps
  • scissors
  • cardstock and a pencil to make a pattern
  • needle and thread
  • twine
  • hot glue gun

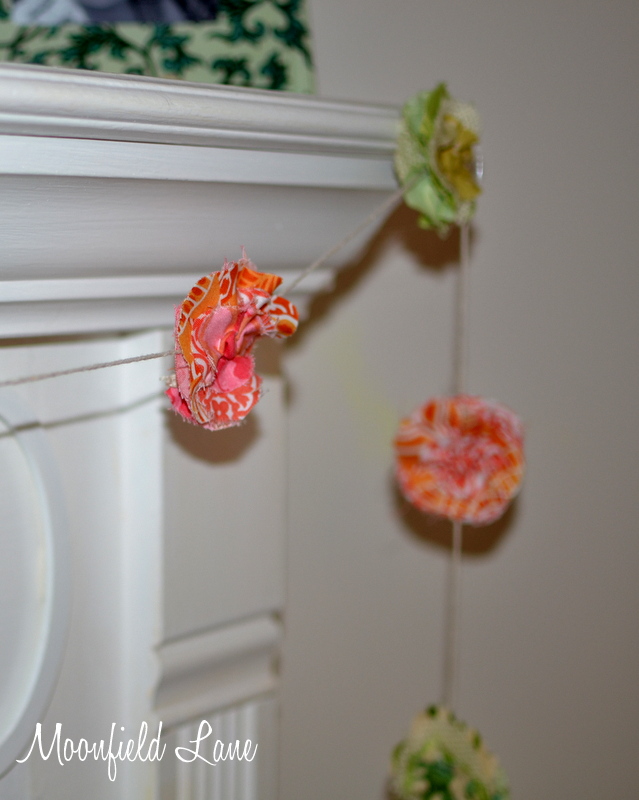
Before you start, I’d think about where you want to hang your garland, how long you want it to be and how many flowers you’ll need. I hung my twine across my mantel before cutting it, allowing for drape. I then marked the middle of the twine, so that I could begin my flowers on either side of the mark. I also tried to get a visual idea of how many flowers I wanted and how I wanted them spaced. I ended up with 12 flowers on 7 feet of twine to hang on my 4 foot mantle.

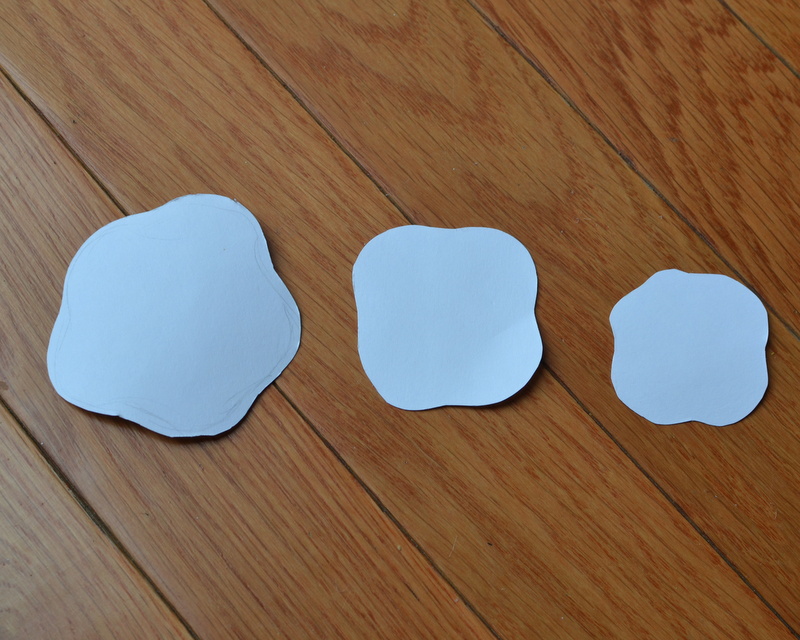
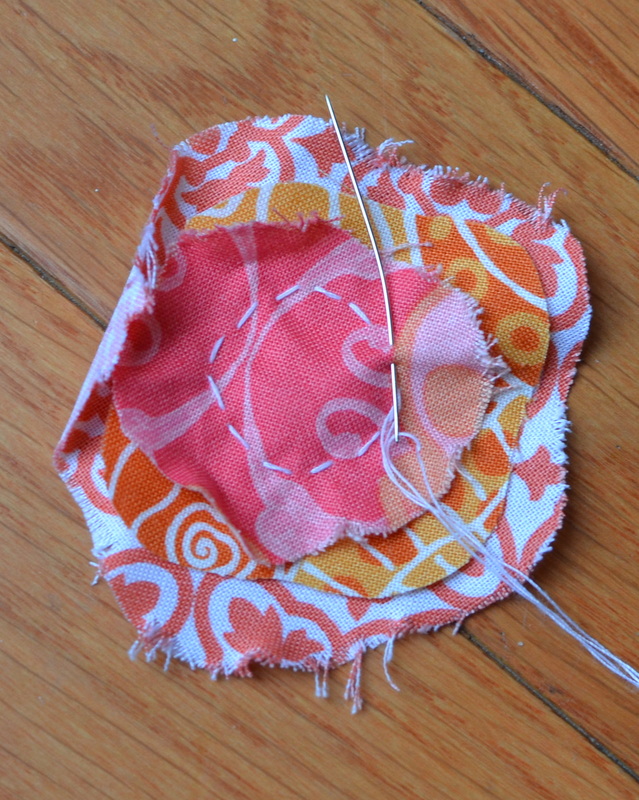
Loosely draw and cut out three petal shaped circles on the cardstock, each one smaller than the other. These three petals make up one flower. Mine turned out to be about 2 3/4 inches, 2 1/4 inches and 1 3/4 inches respectively, but you don’t need to be precise.

Decide on your fabrics and start cutting! I was able to cut through four folds of fabric at a time, making the process go a little faster. You’ll need a flower on the front of your garland as well as a flower to glue on the back, meaning I created 24 flowers in all. So I cut 24 petals of each size and 72 all together. You’ll want the flowers on the front and back, if not entirely the same, to at least sort of match.

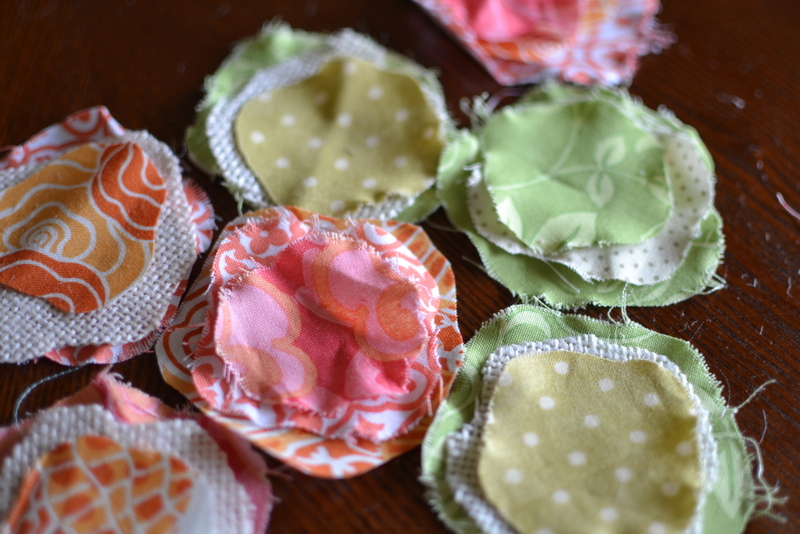
As you’re cutting your petals, lay them on top of one another the way you’re going to sew them so you can visualize the finished flower and how your patterns look together. You can see in the photo that I frayed my edges a little by running my fingernails around the edge of each petal, pulling some of the loose threads.

Now it’s time to sew! Start stitching about 1/4 the way through the smallest petal and go all the way around ending with your needle on the wrong side of the fabric (not like in the picture where the needle comes up through the correct side.)

Pull the needle and thread as tight as you can through the back (without breaking the thread!) as you would a drawstring bag. This creates the center of the flower. Tie a knot in the thread and cut it off. You may need to adjust the center a little until it looks right. You can stick something pointed through the back to sort of “fluff it up” if you need to.

After you’ve made your flowers, glue them to the twine. I just put a small blob of hot glue on a flower, laid the twine on the glue and pressed another flower on top.

Glue the flowers along the entire length of twine and you’re done!

Thanks for having me, Erin!

About Michele from Moonfield Lane: I live in Virginia with my husband and our two wild and woolly little boys. I blog about home decor, crafts and chocolate, and much of my day is spent picking up Legos and cleaning up dirty footprints.
p.s. from Erin: Wouldn’t these flowers also be super cute on little girls’ hair clips? Might have to make some for my girls! Thanks again, Michele!

Share this! Share on facebook
Facebook
Share on pinterest
Pinterest
Share on twitter
Twitter
Share on email
Email

Posted Under: Craft, Guest Post, Party

Comments

  1. Corinne says

    March 24, 2013 at 11:45 am

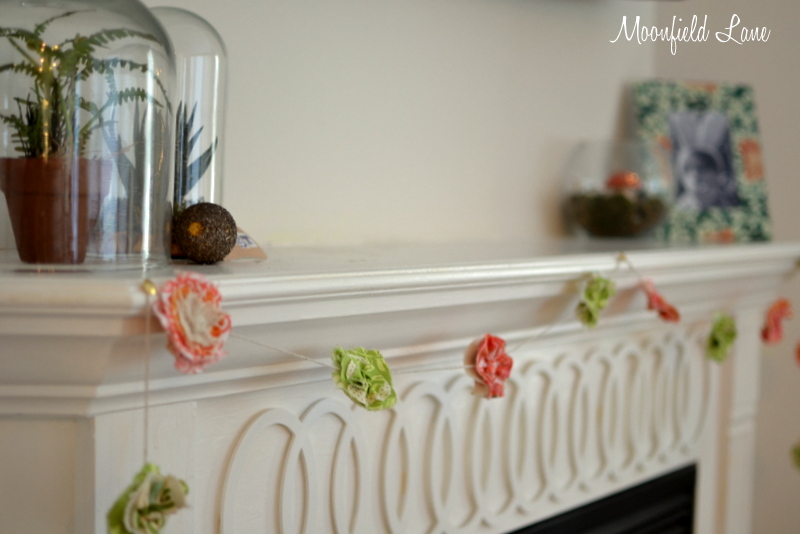
    I made this yesterday to bring some Spring into my house and it was really fun! Thank you Michele for the great idea and tutorial. Erin, congrats to you and your family. Etta is as adorable as her big sister.

    • Erin @ Lansdowne Life says

      March 24, 2013 at 4:29 pm

      Fun! Glad you’re feeling springy. We have like a thousand inches of snow in STL today! Crazy.

Hi, I'm Erin Heaton,
and I make things.
Lots and lots of things.
Read More >>

Music Note Art Prints - Visit my Etsy shop!
13 Tips for a DIY newborn baby photo shoot 14 Tips from my first year selling on Etsy How to make drawer pulls from nuts & bolts Kids Birthday Questionnaire FREE Printable

Archives

Coupon matchup website for St. Louis area grocery stores - Schnucks, Dierbergs, Fresh Thyme, Whole Foods

All content copyright © 2010–2025 Lansdowne Life / Erin Heaton. Shoplifters will be prosecuted.
Terms of Service | Disclaimer