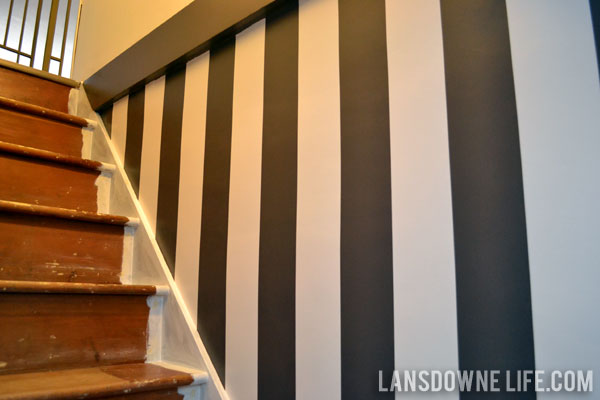
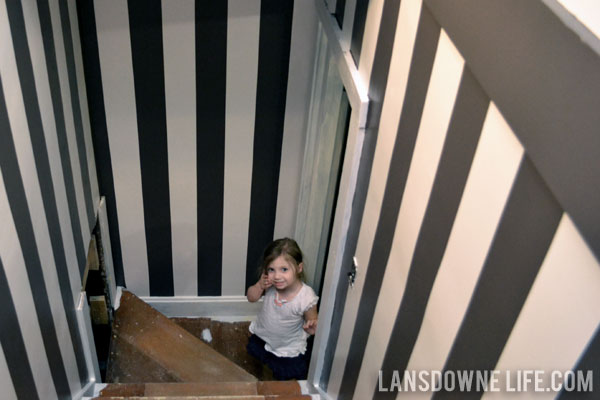
Are you ready for some stripey goodness? My stairway just got a whole lot more fun!
I envisioned bold, contrasting stripe, but instead of a pure black, I used the same dark gray-brown that I used on an accent wall in our bedroom (Olympic’s Oswego Tea). (Which also means I didn’t buy any extra paint for this project!)
There are probably a million tutorials on how to paint stripes out there, none of which I directly followed. Here’s what I did.
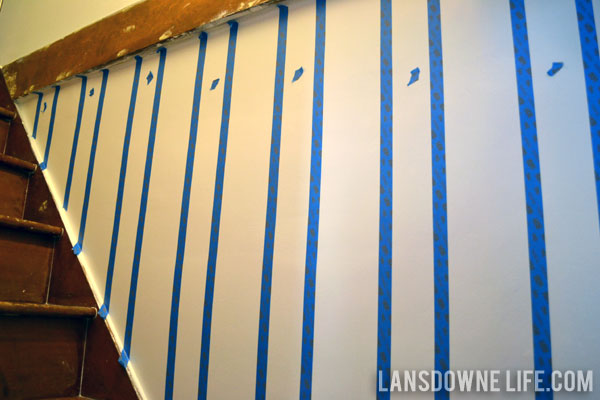
After painting my main wall color, I drew pencil lines on the wall using a laser level (plus a regular level, a yardstick and smaller rulers) and then applied my tape to the pencil lines. Honestly, if I had a three or four foot level, I would have just used that instead of the laser level. Measuring and taping took a few hours, but it was the most tedious part of the process.
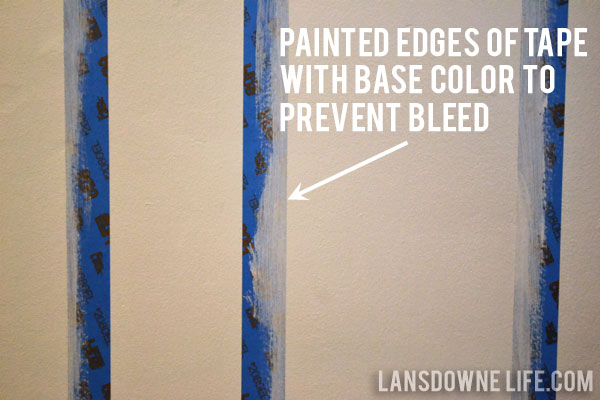
Before painting the stripes, I pressed down the edges of the tape with a plastic ruler to make sure they were completely adhered. I also put a little dab of tape in each of the white lines that weren’t going to be painted. This might seem unnecessary, but believe me, when you are staring at tape lines six inches in front of your face, you need something to help you from going cross-eyed.
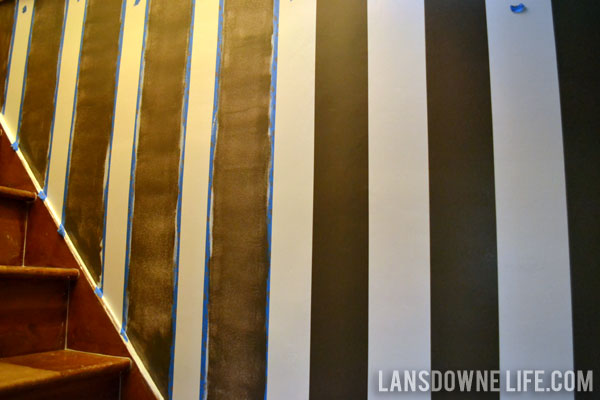

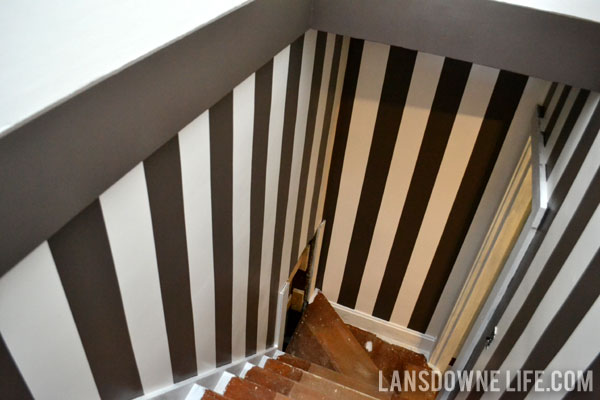
After the first coat was dry, I painted the second coat, then ripped the tape off immediately before moving onto the next stripe. That is, I didn’t let the second coat of paint dry on the tape. The lines came out crisp and clean. I never dreamed they would turn out so perfect. No jagged edges!
I did do a bit of touching up once the second coat of paint had dried. There were a few spots where the paint was thin, but I carefully fixed those areas without applying any more tape.
I LOVE the way they turned out. I don’t always feel this strongly about the things I make/do, but in this case, I really do love them.
I asked Elise, “do you like my stripes?” And now every time she sees them, she asks me, “do you like my stripes?”
Next up for a paint job are the stairs themselves. This project is sucking all the free time out of me, so I probably won’t have any more posts this week. Stay tuned! I (for one) can’t wait to see how this thing turns out!
See all the stairway updates >>


Ooh, this looks fantastic! Great job. And I love the photo of Elise looking up the stairwell 🙂
Thanks, Michele! I can only hope the stairs turn out as good as the walls.
this is awesome! I tried doing stripes in my daughters nursery, but it just isn’t that great! I didn’t have a ladder to reach the top, so i only have stripes across the middle of the room, this encouraged me to find a tall ladder and get it finished so it will look normal! Thanks!
Oh Meg, I’m glad I inspired you to complete your project. I’m sure your daughter will love it!
Looking good! I can’t wait to see how you decided to do the stairs.
Thanks, Jodi! The stairs are in progress, although I’m not totally certain what I’m doing.