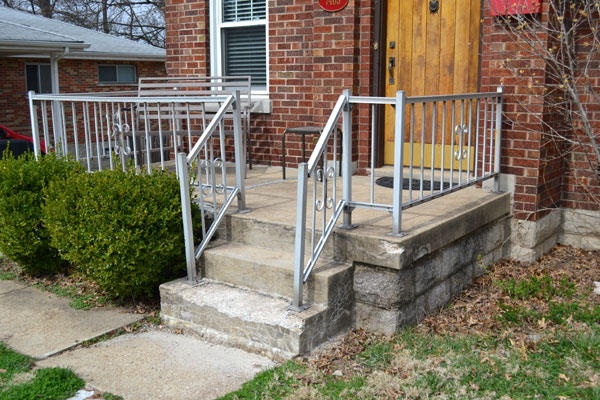
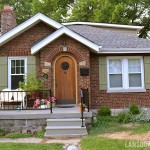
From the street, the railing looked white. But up close, you could tell it was a dull unfinished aluminum. Aluminum doesn’t rust, so it was still in pretty good condition. A little rickety, but because the shape is traditional and classic, I knew that with some refurbishing, we could avoid a wholesale replacement. Save some bucks!

First, those curly things had to go. A small part of me likes them, but I have to admit they were making the porch (and the house) look pretty dated. They were attached with some rusty screws, so my dad had to cut them off. But he was able to do it without harming the curls themselves. And (of course), I saved them, so they might show up in a later project.
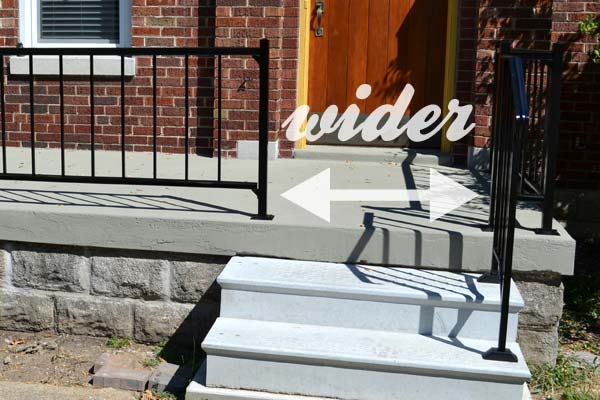
My dad also worked on a number of fairly undetectable changes. Our old stairs were three feet wide and the new steps are four feet wide. We wanted to match the wider step with a wider opening, so he shortened the large stretch of railing in the front.
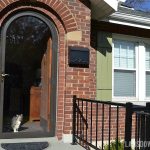
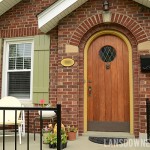
Along those lines, my plan all along was only to replace one of the handrails on the steps. Two handrails seemed a bit unnecessary and they made the entry feel very tight. Replacing just the rail on the right gives it a much more open and gracious feel. And it’s easier to walk through when you’re carrying things like groceries or a small person.

Those with an eye for detail will notice that the handrail is new. The company that manufactures the pre-fab step units also sells handrails that screw right into pre-drilled holes in the steps. The old handrails were not exactly sturdy, so it made sense to just replace them with something that was designed to work with the steps. The shape of the handrail isn’t the same as the existing porch rail, but it’s close enough that it blends pretty well.
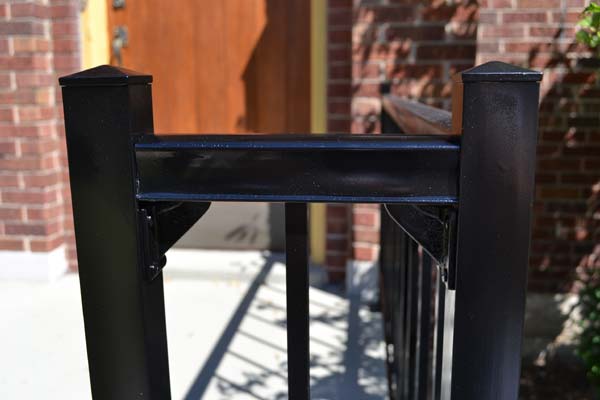
My dad also replaced all of the bolts and screws holding the entire railing together (they were rusted and some were missing) before returning the railing to me for painting.
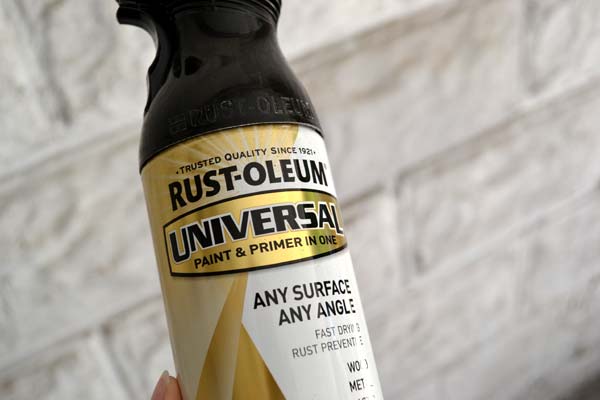
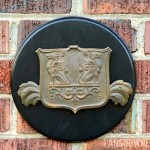
I used 4+ cans of premium spray paint in the same glossy black that I did for the mailbox. At $6.48 each, the total was not cheap, but definitely cheaper than a new railing. This stuff has a built-in primer and also can be sprayed upside down and at weird angles so that helps when you’re painting something with a lot of crevices like this.
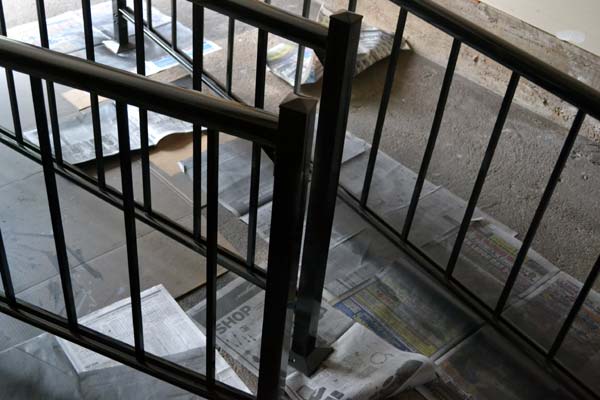
I painted the railing in sections in my garage (not on the finished porch). I put down newspaper and some large pieces of cardboard, but those are the only areas of the floor that don’t have paint on them now. The spray really travels! (It’s kind of a junky floor, so it doesn’t really matter.)
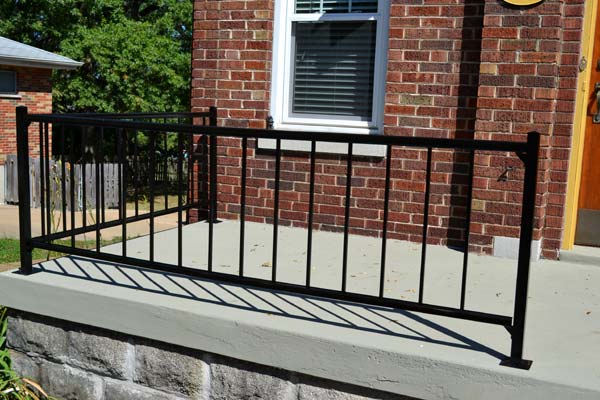
It looks a thousand times better than it did before and contrasts really well with the porch. Stay tuned for a full porch reveal later this week!
Update: See all of our recent curb appeal projects!


It looks so great! You’re right, like new. Well done!
It looks fantastic!! I’m in awe of what you and your dad have done.
Thanks, both of you!
I have almost the same railing all alongside my mobile home…was planning to do almost the exact same thing to it – so glad it can be done and the final result is – WOW!!! A new railing would be close to $1000 for me, compared to 5 cans of rustoleum? $35 – that’s saving a butt-load!!! I am totally stoked to do this now thanks!
Awesome! Go for it! I definitely would use the “good” spray paint with the trigger spray and not the cheapie stuff. Being able to spray upside down or at odd angles is essential!