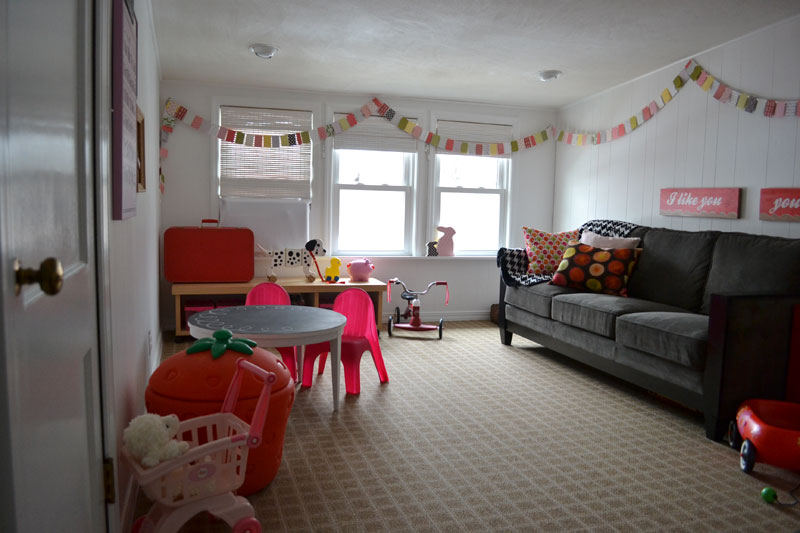
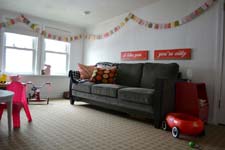
Little makes a room look more festive than a colorful garland, and festive is exactly the look I wanted for the playroom.
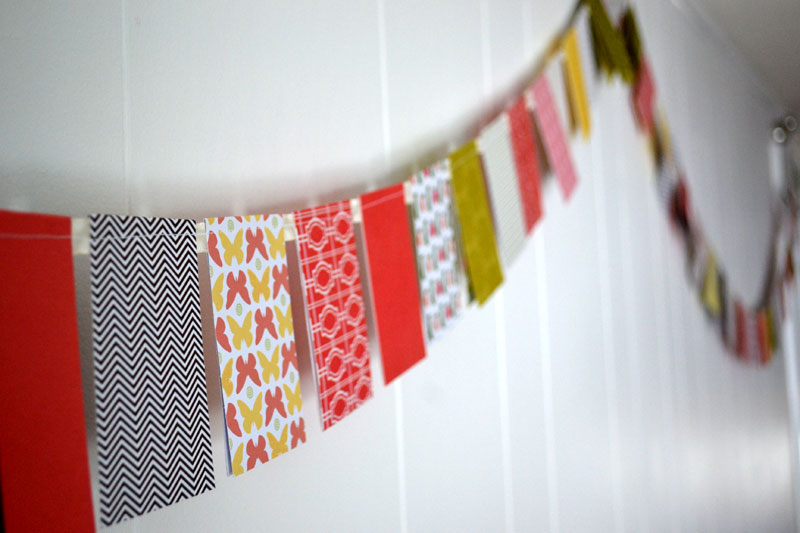
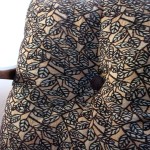
I wanted to use fabric, but I definitely have more paper scraps lying around than fabric scraps. Use what you got, right? (Small confession: I did buy a two new pieces of paper to fill in some color gaps.) Plus, I’m just more comfortable working with paper. Me and paper go way back.
I took some rough measurements for how long it needed to be by draping my ribbon around the room. I did this by myself, and probably would have been more precise if I had someone helping me, but it turned out to be more or less pretty accurate.
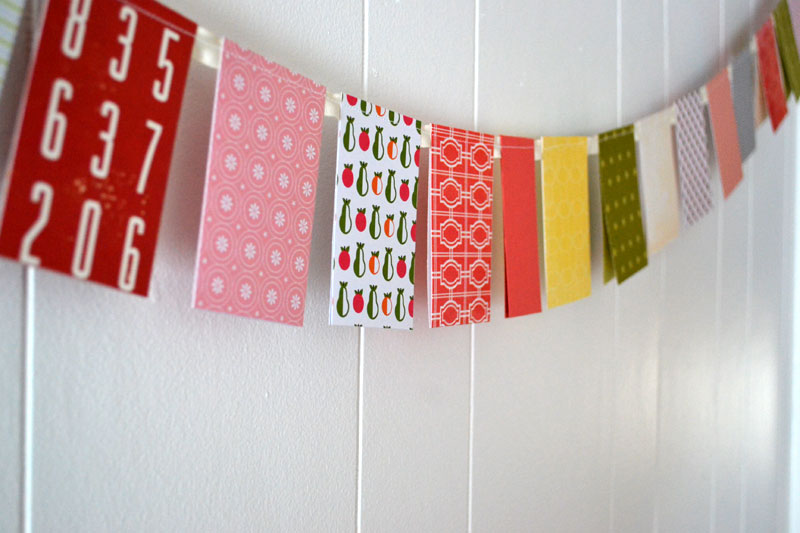
I took that measurement and calculated how many pieces of paper I would need based on the width of the paper (2.25 inches). I added in a quarter inch width (per piece of paper) to accomodate for the gap between the papers.
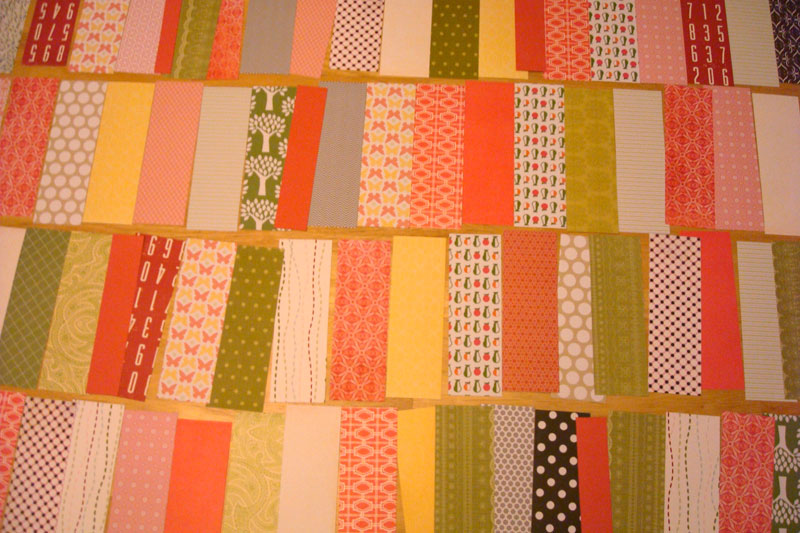
After I cut the approximately 100 2.25 x 7 inch pieces I needed, I laid them all out to find a nice randomization. Then I folded all the pieces in half.
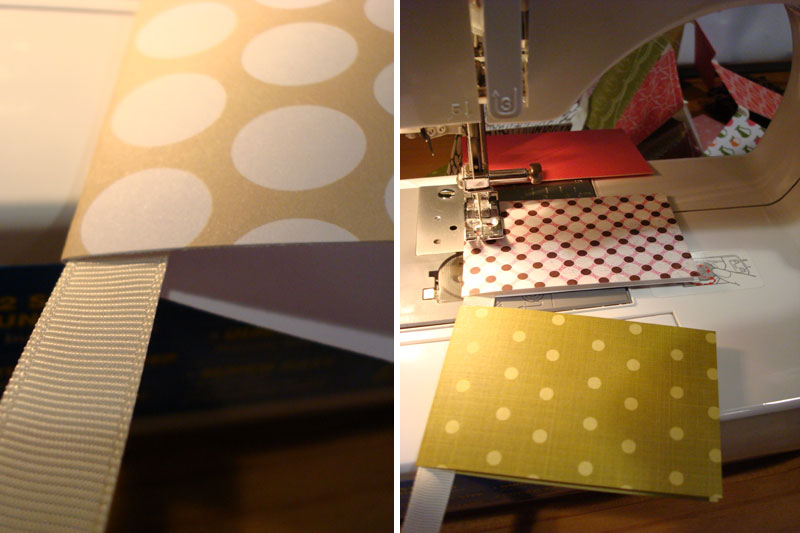
I took some 3/8″ grossgrain ribbon I had on hand (the same ribbon I used to measure). Then I folded the paper over the ribbon and ran a stitch down the length of the ribbon with a sewing machine, adding papers one by one. A little time-consuming, but easy.
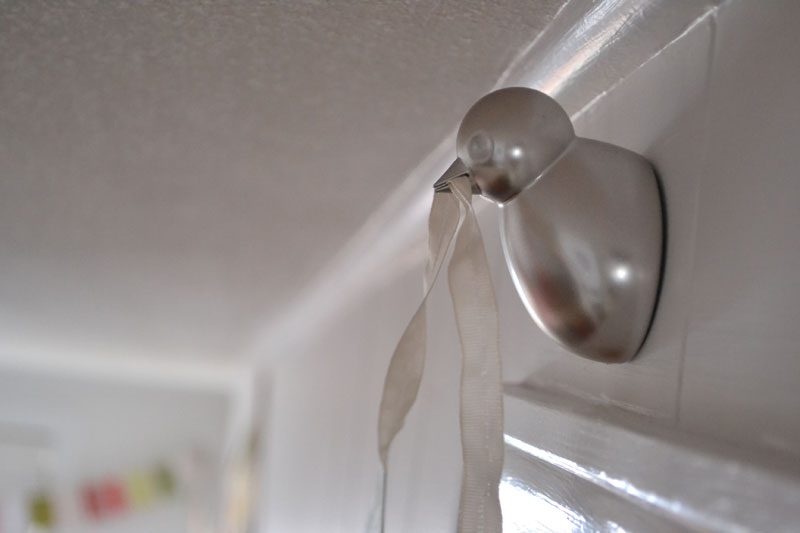
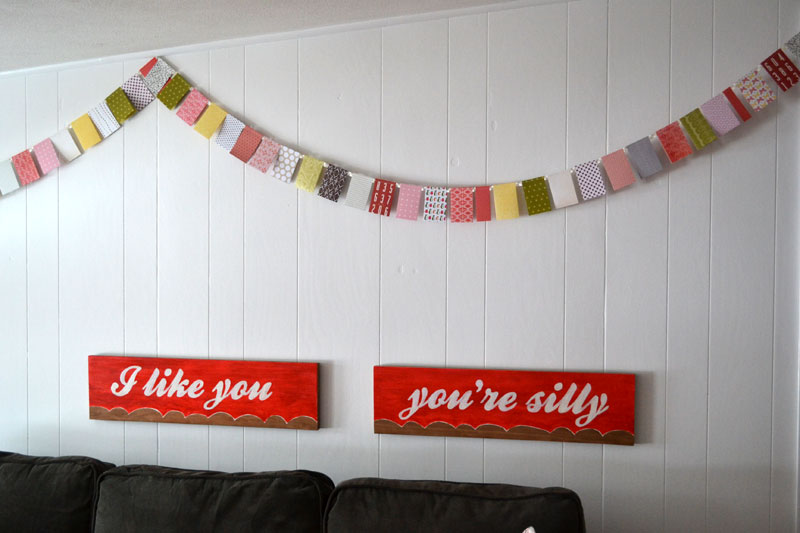
I used these cute birdie hooks to tack up the ends and one of the points in the middle.
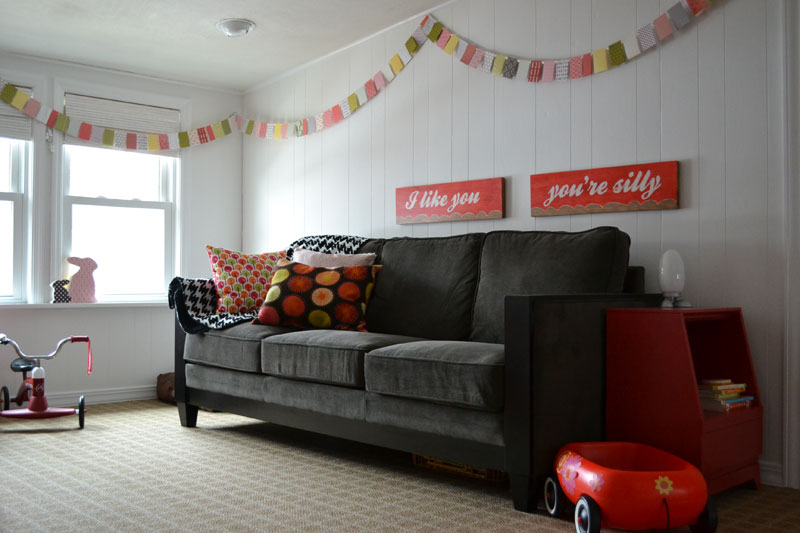
Honestly, I think this is what ties the whole playroom together. It makes me smile every time I walk in.
………………………………………………..

Check out another paper garland I’ve made.


I knew you would have all the details! I’m definitely going to try this and I won’t have to think too much. Ill link up when I do!
I agree this the show piece of the playroom. Great vision!
Yes, please do share yours! I would love to see it!
Erin: where did you get the “I like you”… “you’re silly” pieces for the playroom? They’re so great! Signed, a Canadian fan
Hi Anon, I did the “I like you” paintings myself. (See how here.
I’m thinking about doing a free printable with that phrase soon. Check back in the next few weeks!
Where did you find the birdie hooks? They are perfection!!
Hi Tyan,
Umbra makes the bird hooks. I got them at Bed, Bath and Beyond, but I’m sure they have them other places too.