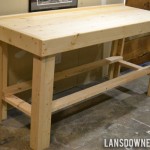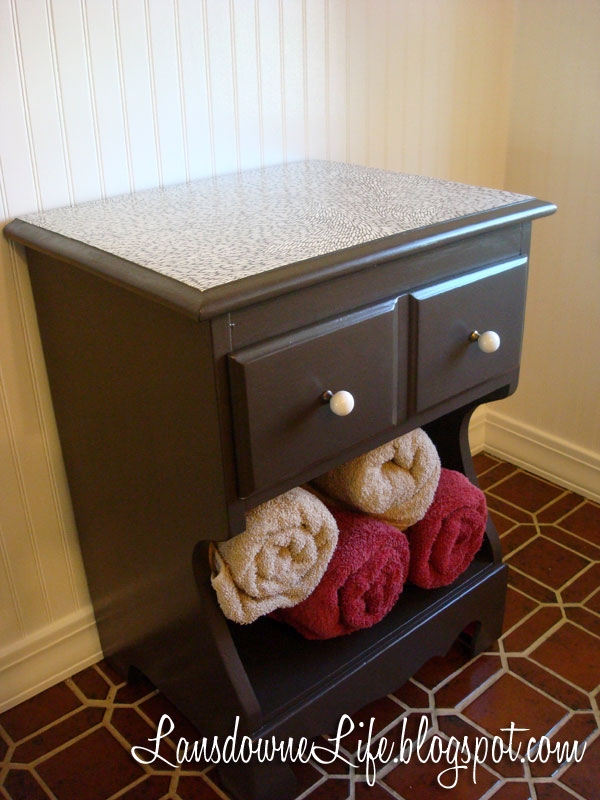
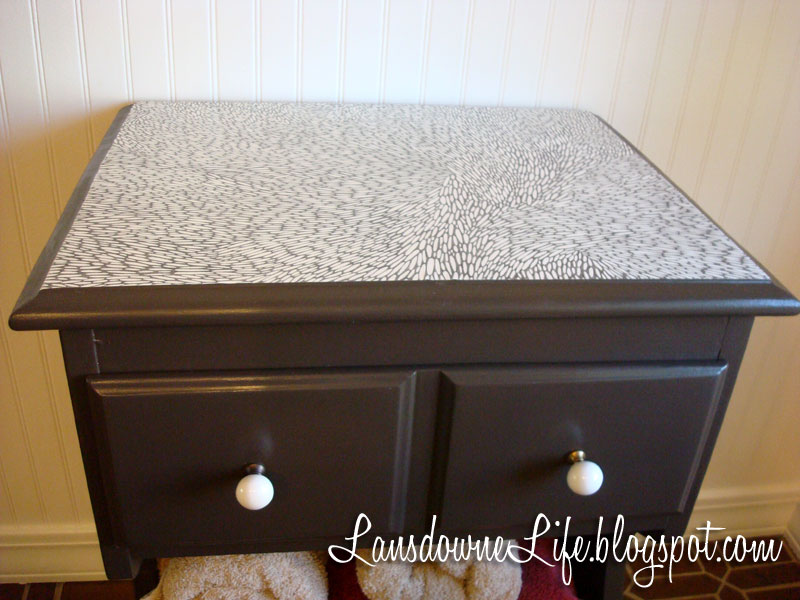
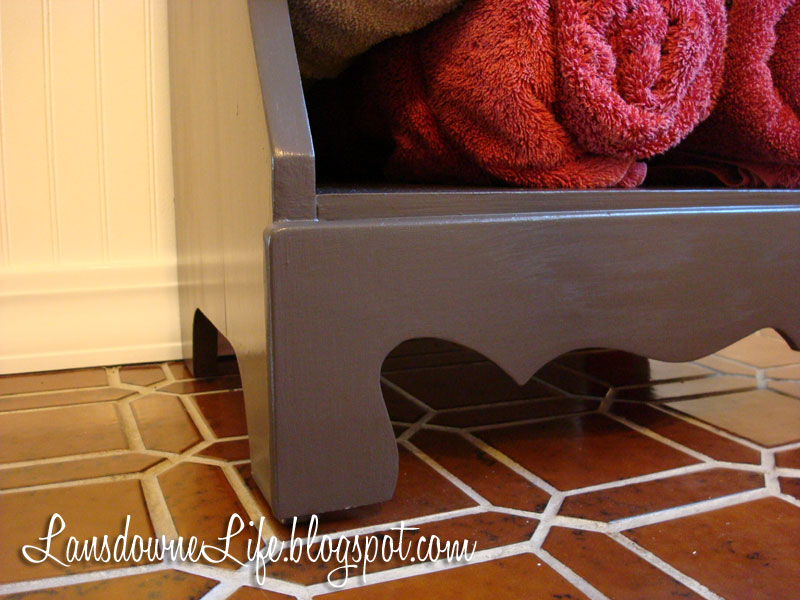
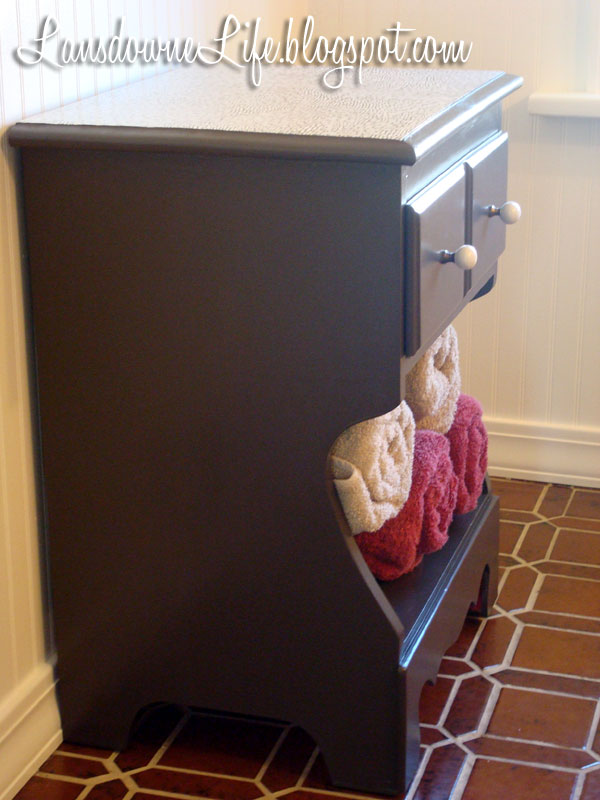
With no closet, this bathroom needed storage for towels and other things. A store-bought shelving unit or storage tower was out of my budget, so I drafted an old unused nightstand for the job. I think this one might be the match to this dresser I painted for Elise’s room, but it’s missing the dentil moulding of the dresser, so I’m not positive.
I’m not going to show you a “before” photo, because this little nightstand was suffering from an embarrassing paint job applied during a “decorative” furniture painting phase. We’ll just leave it at that.
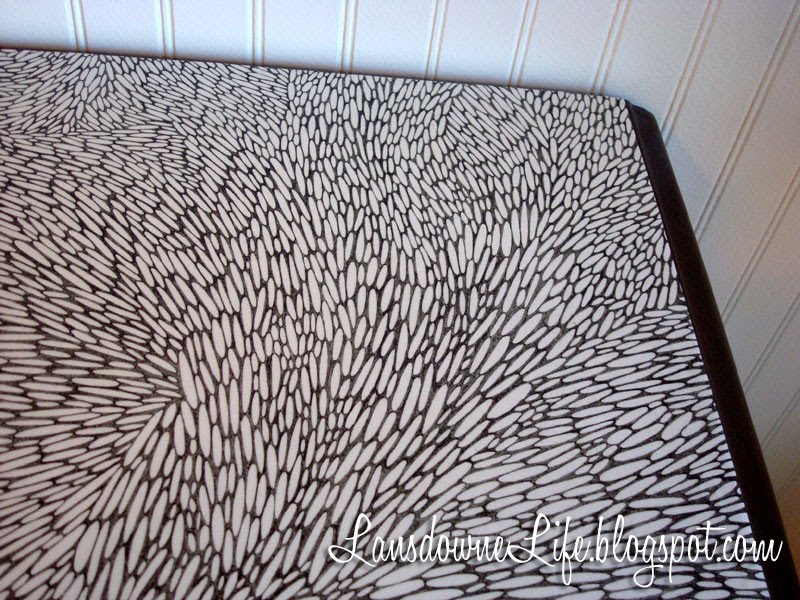
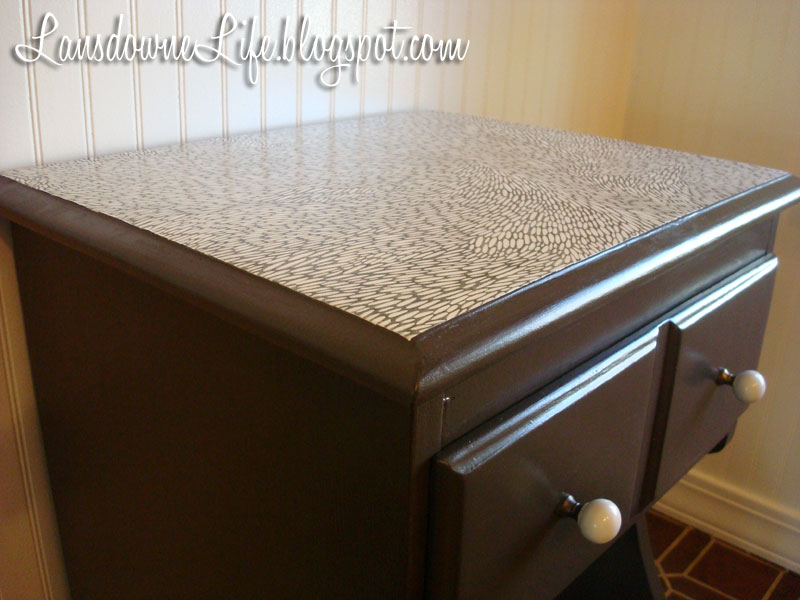
My initial plan was just to paint the whole thing the same color as the vanity, but then I thought it might look a little dull. Scouting about, I found this beautiful designer wrapping paper. I love that it is an organic pattern, but isn’t a floral. It’s a great contrast to the geometric lines of the walls and floor.
I adhered the paper to the top of the nightstand with Mod Podge. This is the largest surface area I’ve ever Mod Podged with a single piece of paper (and will probably be the last). The paper was thin and prone to wrinkling and bubbling. Not fun! But I think I worked out the worst of it and got it to look mostly smooth. Next time I have a large surface to decoupage, I will use fabric instead of paper.
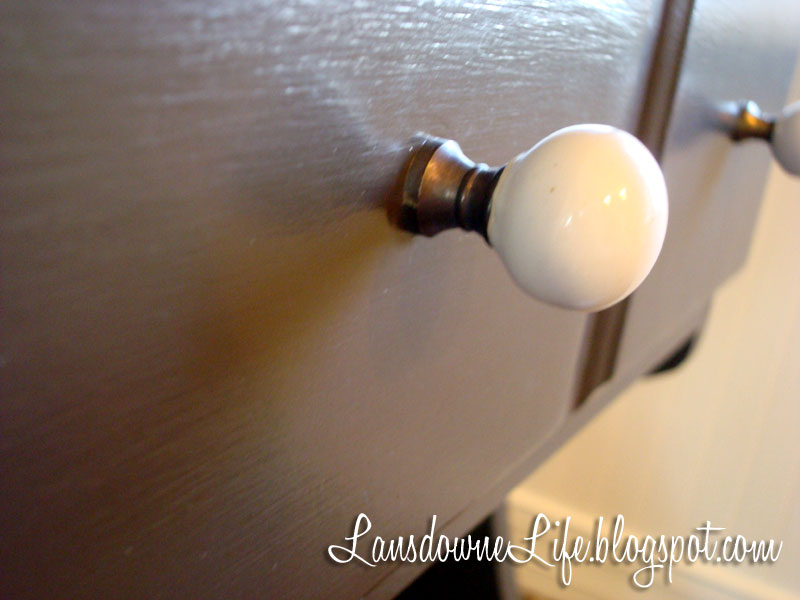
I replaced the knobs with these small round white ceramic ones from Hobby Lobby at 50 percent off. I liked the original knobs, but they were dark metal and wouldn’t have shown up on the brown paint.
I’m sure the designer of this über eco-friendly paper (recycled, soy ink, etc.) didn’t imagine it would one day be slathered in Mod Podge, but it’s too pretty to be used as gift wrap and thrown away.
I still need to coat the top with some polyurethane, but free time has been in short supply around here lately!
……………………………………………………………..
How I spent my $100 budget (so far)
1 qt. Semi-gloss wall paint … $11.42
Curtain rod … $4.49
1 qt. Semi-gloss paint for vanity, mirror and nightstand … $11.42
Frame … $0.01 (yep, for real)
Mirror … $26.91
Bathmat … $7.47
Paper for top of nightstand … $4.32
Knobs … $3.22
——————-
Total spent … $69.26
Amount left … $30.74
……………………………………………………………..
Follow along with me as I give our upstairs bathroom a face lift with a budget of only $100.
1. Another bathroom update: Before
2. My color plan
3. Painting the walls
4. Curtains made from a tablecloth
5. Painting the vanity
6. No cost vintage boxer wall art
7. New mirror & bathmat
8. Hang a pretty book as artwork
9. Clock makeover with a Pottery Barn twin