Hello, sorry I have been blog-absent! I would like to say I’ve been busy making Christmas gifts, but in reality, I’ve been dealing with less pleasant things (i.e. a bad cold and the stomach flu). Much better now, but I feel like I’ve lost days worth of time for Christmas projects, shopping and finishing the playroom. (I ran out of time to make an advent calendar, too, but that’s OK. Elise probably wouldn’t understand it yet anyway, and there’s always next year.)
Time to get busy! First up, holiday decorating.
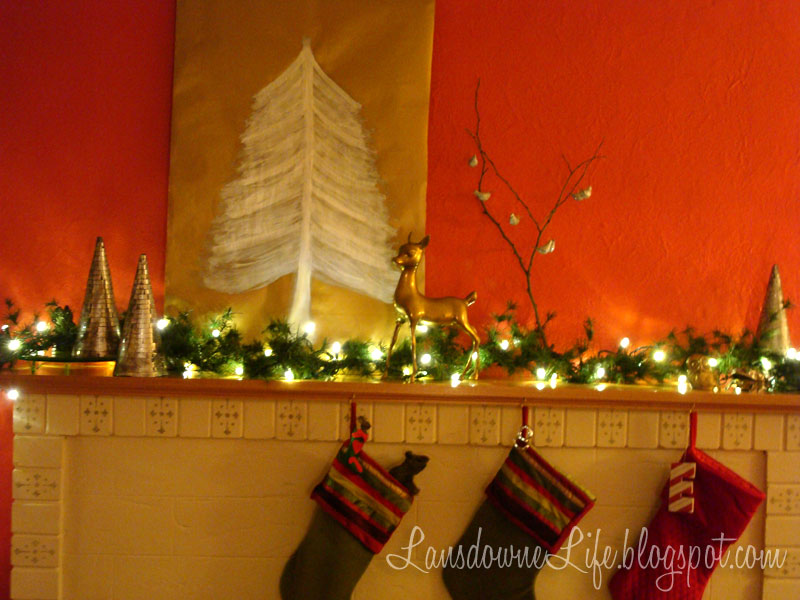
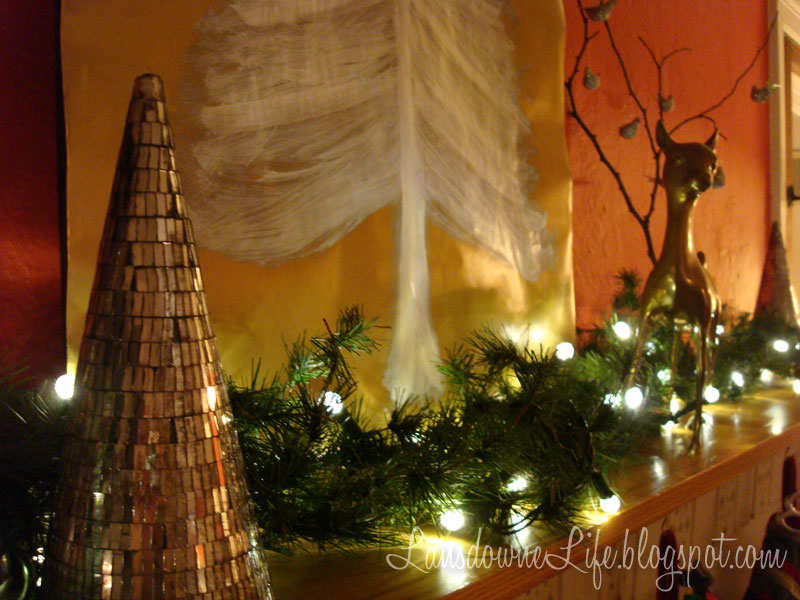
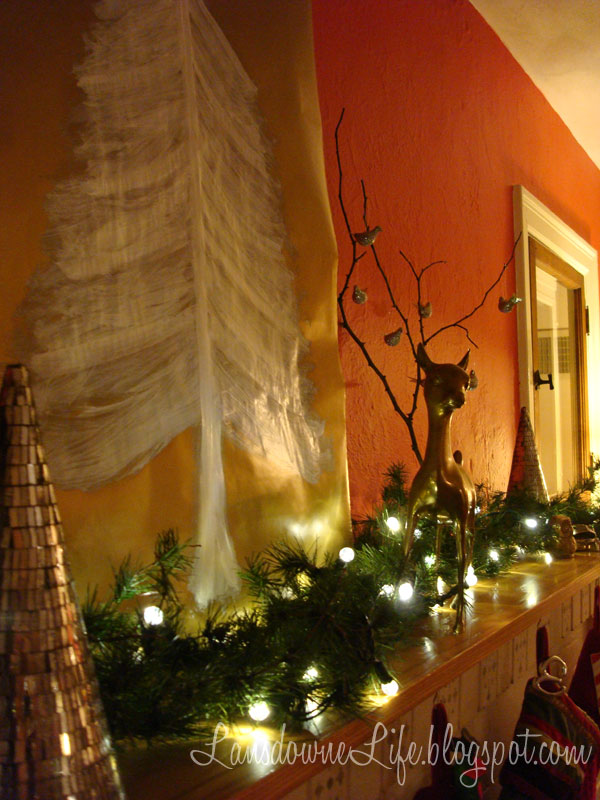
I have a hard time spending much money on Christmas decorations, so everything I’ve used here (save a new strand of LED lights) are things we already owned or were hand-me-downs.
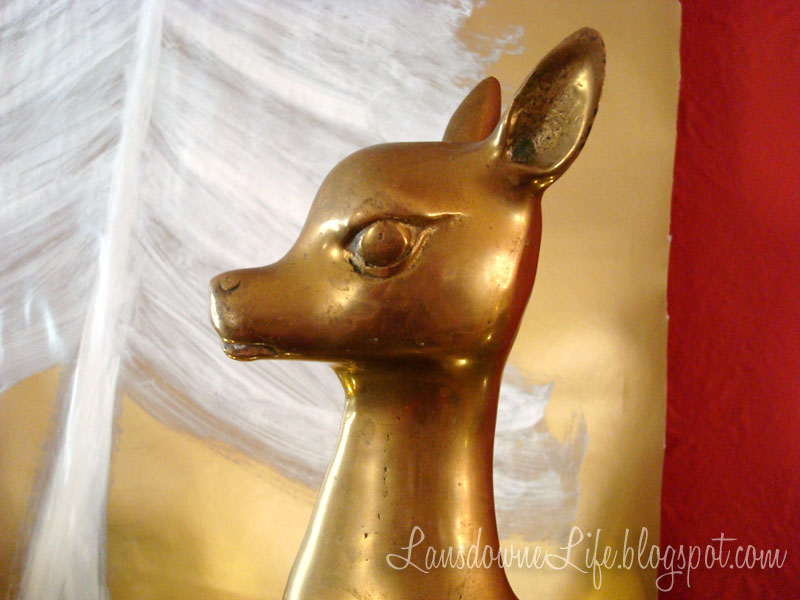
Yes, you spied my deer again. I’m still in love with him.
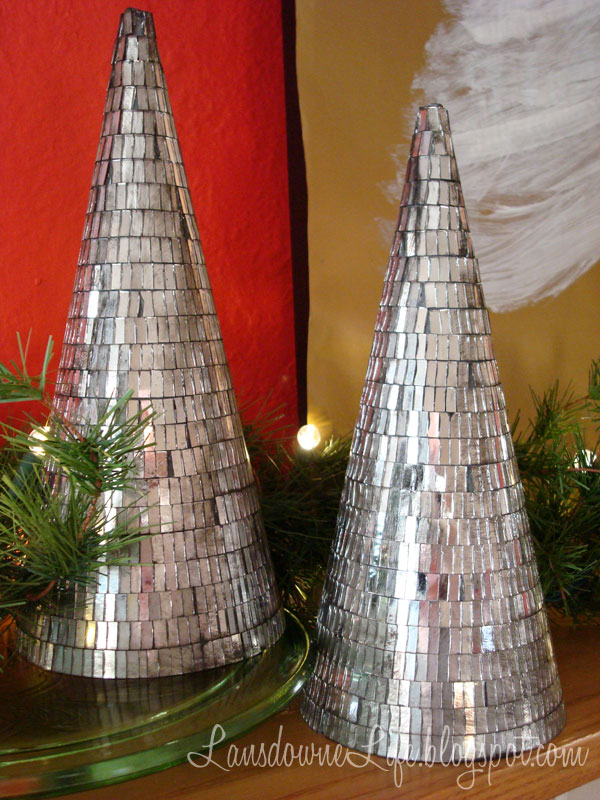
I bought these mirror cone trees last year at Dollar Tree after seeing how people antiqued them on Dollar Store Crafts. (They have them in the stores again this year, too.) They were super shiny straight from the store, so I dulled them down with some black and brown acrylic paint. I think they look more expensive than just a buck each.
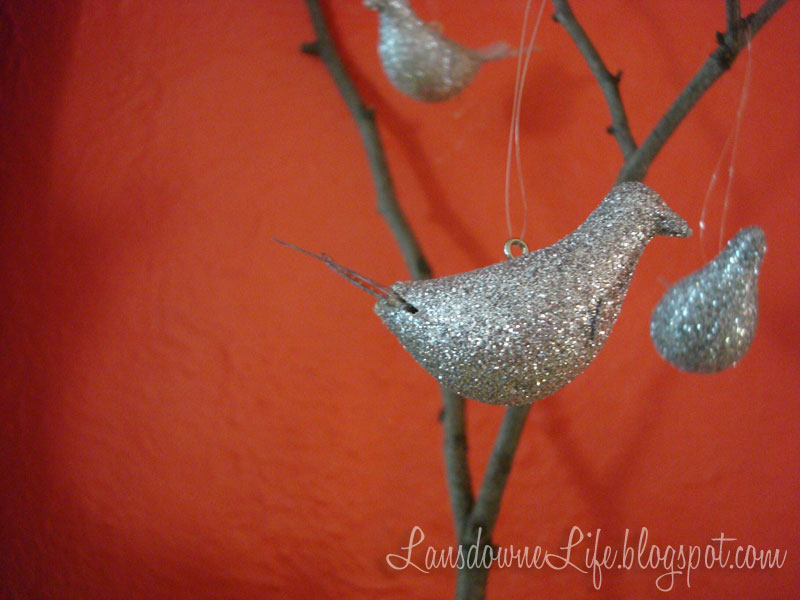
These little glitter birds were 90% off after-Christmas clearance at Target last year. Eighteen birds for just $1.90. Can’t beat that.
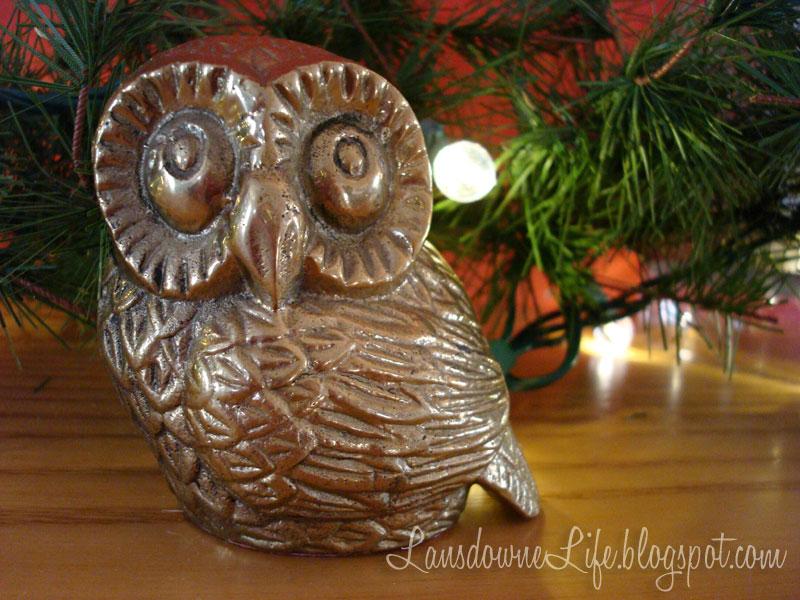
This small brass owl was an antique mall find from a couple of months ago. I seem to be acquiring a menagerie of brass animals.
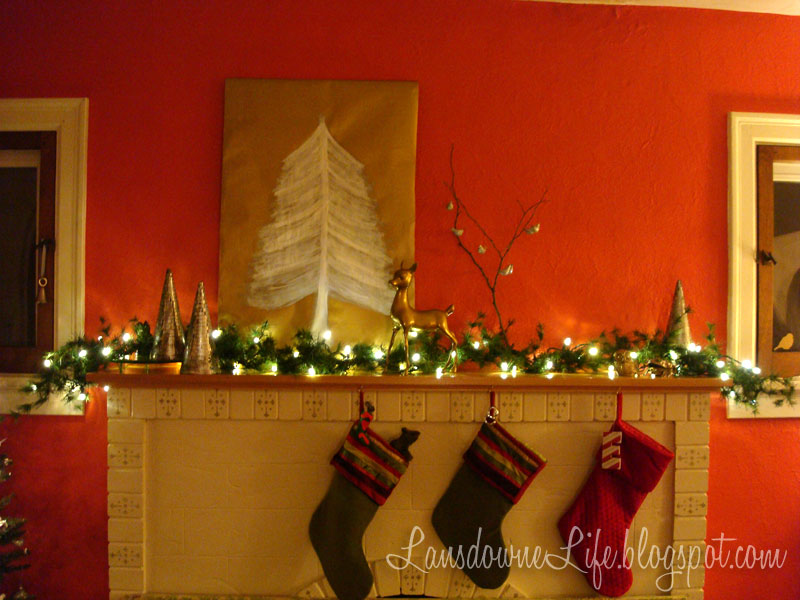
The existing artwork wasn’t really blending with the gold and silvery stuff, so I took some matte gold wrapping paper and cut a piece slightly larger than my frame. With a pencil, I sketched the skeleton of the tree. Then I took some white craft paint and quickly painted the branches. With such thin paper, it’s important not to use a ton of paint or the paper will wrinkle or tear. I wanted it to look loose and sketchy. This is ephemeral decor and it’s not worth spending a ton of time on. When the paint was dry, I just folded it over the top and bottom of the frame and taped it to the back.
The whole thing probably took 15 minutes. (And it probably looks it, but I’m OK with that.)


Where’s the rat?
He’s in there. Keep looking.