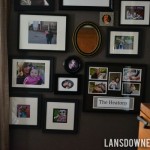
I’ve been framing gobs and gobs of things for our bedroom gallery wall. (More on that soon!) I’m trying my best to keep the cost down, and that means framing some photos I already have.

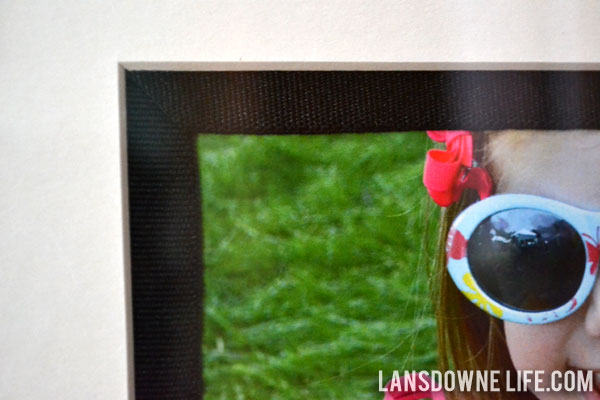
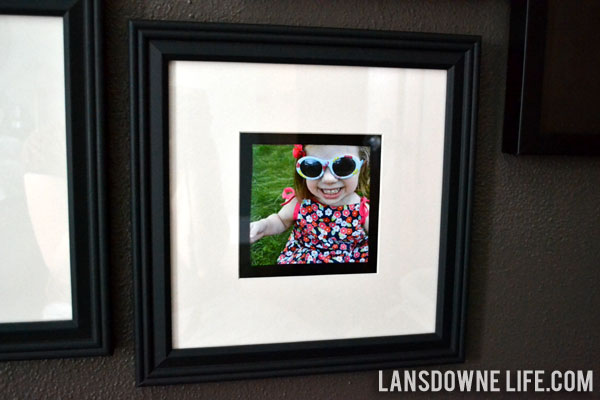
This was a photo card Elise and I gave Dan last Father’s Day. It supposedly was 5″x7″, but once I got it behind the 5″x5″ mat opening, it was a smidge too small. Not small enough to drop it down a frame size, though. Time to do some doctoring.
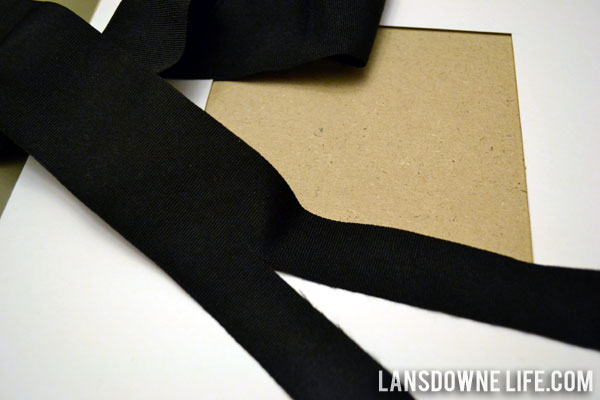
I found a piece of black grosgrain ribbon in my ribbon scrap box. It was about two inches wide, so I sliced it up the middle. This wasn’t necessary, but I’m thrifty even with my scraps, and this allowed me to use half as much ribbon.
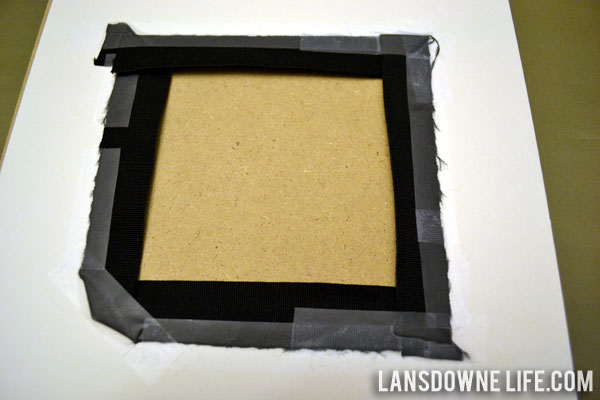
I flipped the mat over and taped the ribbon to the back side around the opening, leaving about half an inch showing through the window. (Yes, it looks a little ragged, but no one is going to see the back of the mat.)
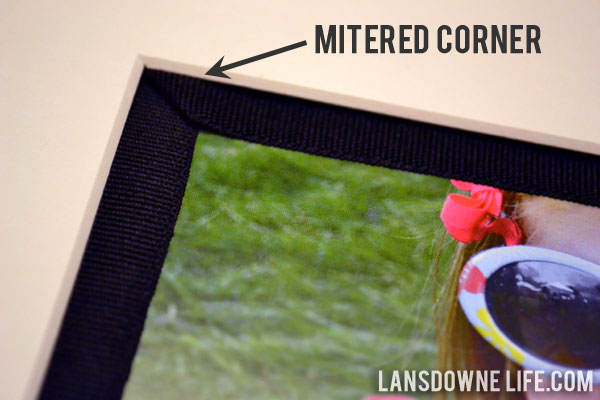
When I was doing my corners, I folded the ribbon in a way that shows a mitered corner on the front side. I promise you this is super easy to do, but a wordy explanation is going to make it sound harder than it is. So I’ll try to show you with photos. This is a recreation sans mat because I didn’t think to take photos of this process before I taped everything down.
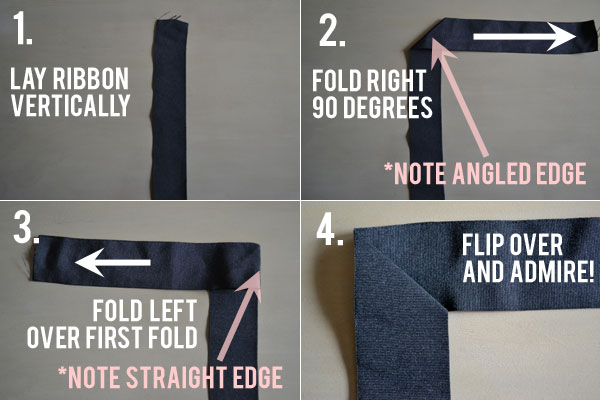
- Lay the ribbon vertically.
- Fold the ribbon 90 degrees to the right, creating a 45 degree angle.
- Fold the ribbon back over to the left, but keep a straight edge.
- Done!
Obviously, if you need to create a corner in the opposite direction, you just reverse the left and right in the directions. And tape it down to the mat as you go so you don’t have ribbon flopping everywhere.
Even if you don’t need to alter the mat size, this is a cute way to customize a frame without spending much (if anything). And a use for all those ribbon scraps!