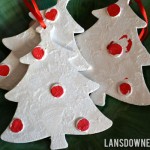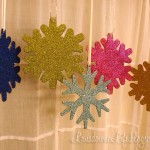
My favorite type of Christmas ornaments don’t scream Christmas. While they look right at home on the tree, they also look great on their own and can be displayed year round.
So when Ann Marie at White House, Black Shutters decided to host an ornament exchange, I decided to make an all-year type of ornament. I think my recipients should have gotten them in the mail by now, so I’m moving ahead with this post!
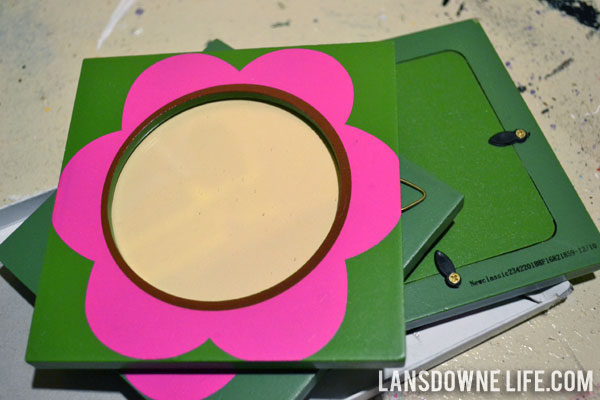
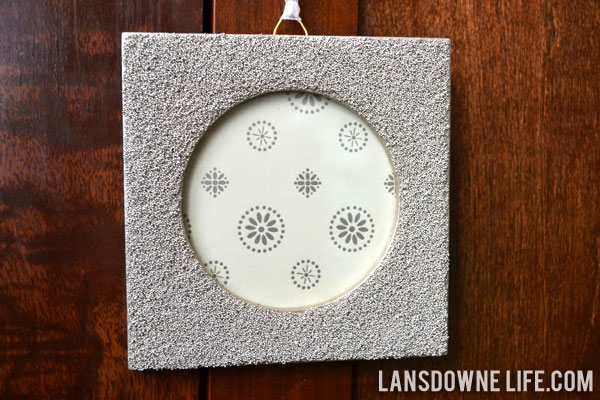
While brainstorming, I came across these photo frames I had stashed away. They already had hangers on the backs, so turning them into an ornament was an easy leap. I used them to make bridal shower favors earlier this year. They worked really well, so when I saw the frames go on clearance, I picked up a couple of extra packs.
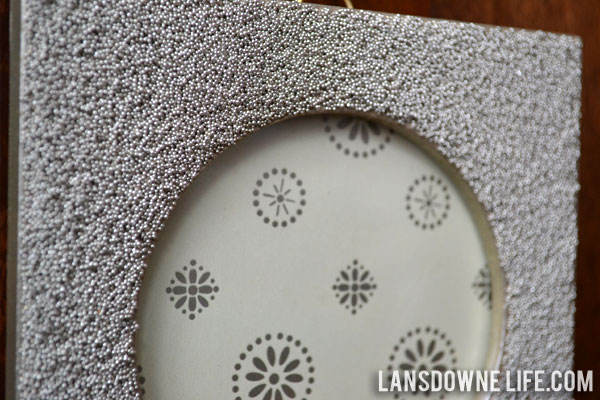
I like these frames first because they were cheap ($1.25 for three! on clearance), but secondly because they are sturdy with real glass and a nice circular opening. They were kind of ugly straight from the package, but I don’t let that disguise a simple silhouette.
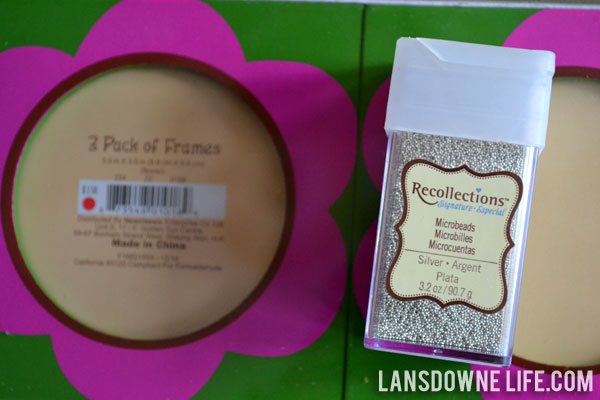
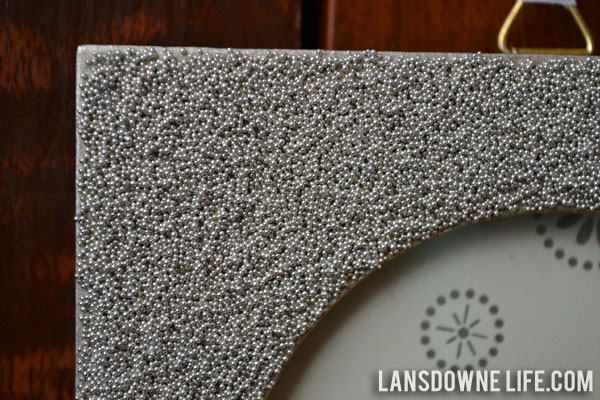
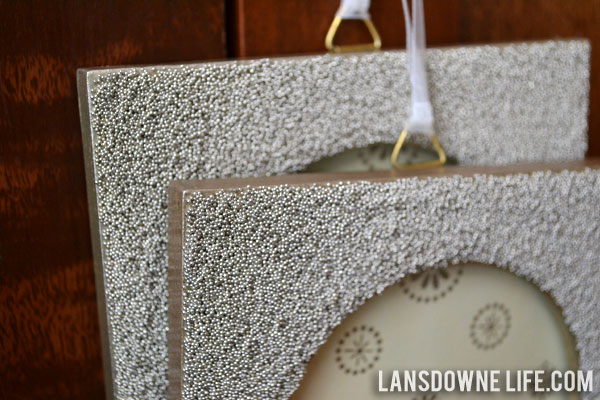
I wanted to cover the frames with something sparkly, but not necessarily glitter. These “microbeads” (found near the glitter at the craft store) were just what I was looking for. Shimmery, not glittery.
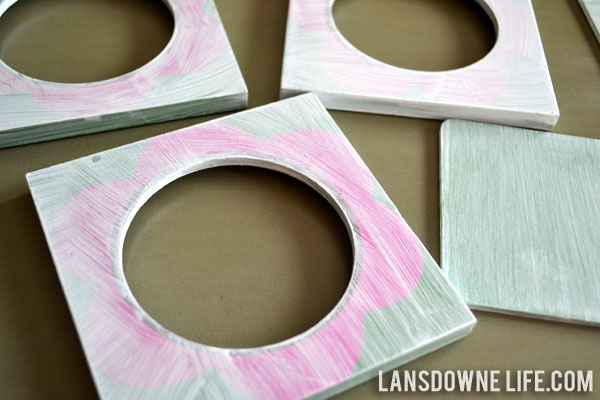
I primed the frames…and that’s when my experimenting began. I tried several different ways to stick the beads to the frames (different glues, etc.) but in the end, I didn’t use glue at all!
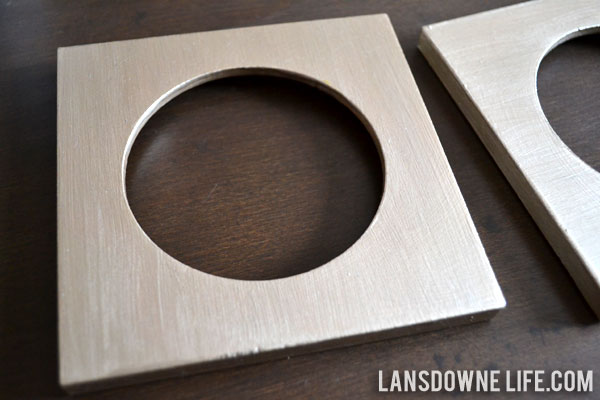
I painted the frames with a champagne-colored spray paint and after the first thin coat, I defied all spray painting rules and doused the fronts with a thick coat. Sorry I don’t have any photos of that as I was working quickly, but I used the thick coat of wet spray paint as my “glue.”
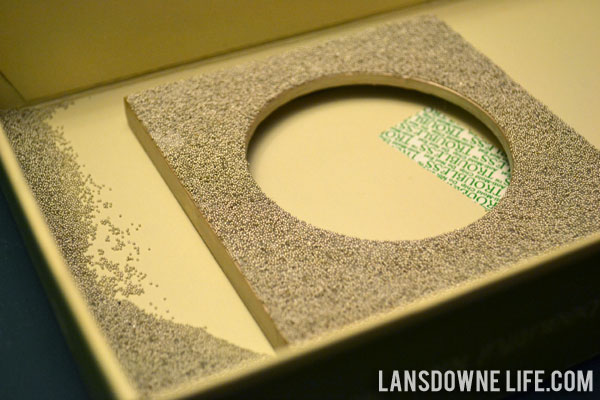
I sprinkled the microbeads all over the surface and let the paint dry for several hours. (I did this in the lid of a shoebox to contain the mess.) Then I shook off the excess and carefully brushed off stray beads. After mostly removing all of the loose beads, I sprayed the frame with a a clear sealer to make sure they stayed stuck. (This technique works for messy shedding glitter too!)