A busy holiday sales season is sort of a double-edged sword. It’s what many of us makers and artists work toward and hope for all year (Making consistent sales! Finally!). Two thirds of my retail sales are done in just the last three months of the year. But add all that extra work to what […]
Music Note T-shirt pre-order open until Oct. 15!
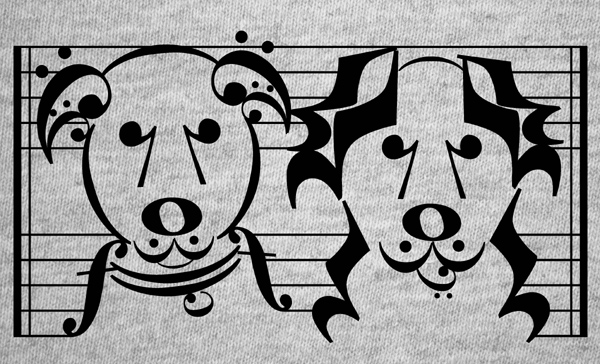
Just dropping in with a quick announcement. If you don’t follow my business on Instagram or Facebook, you may not have heard… After many inquiries over the years, I’m so excited to finally offer T-shirts with my music note designs! There are three designs available, printed in black on USA-made heather gray shirts. They’re going to […]
Erin Heaton Art: State of the business address
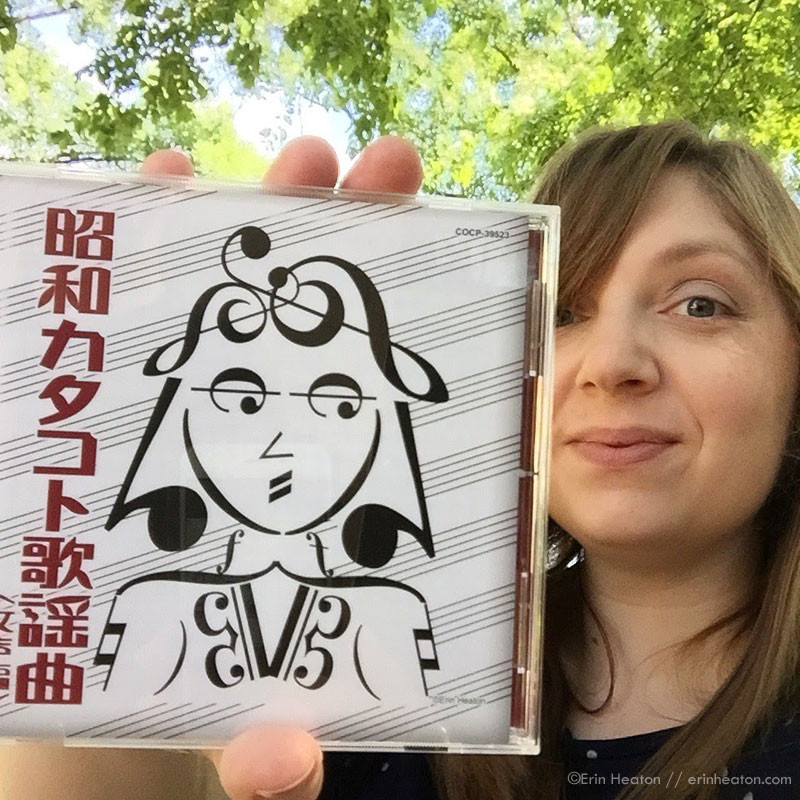
It’s been quite a while since I have written a post about my business. This phase of life I’m in right now feels extra scrambly and pressed for time, and this blog has been the one to take the hit. Narrowing focus There’s a lot of trial and error when you are establishing a business. When I started […]
Art birthday party
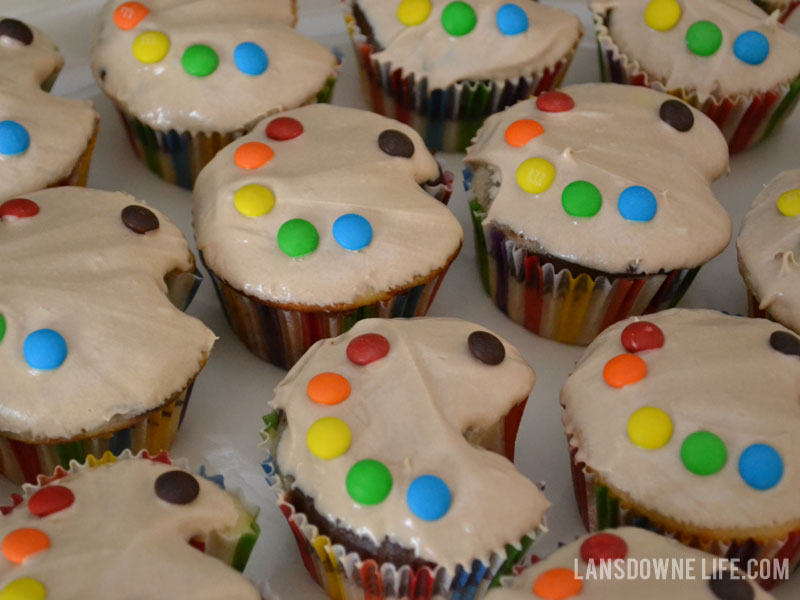
Like I mentioned in my previous post, I made a serious effort to keep the girls’ birthday parties low stress this year. Elise wanted an art party, which was relatively easy to pull off with all the things I had in the house already. We made paint palette cupcakes and art canvas cookies that we decorated with […]
Strawberry birthday party
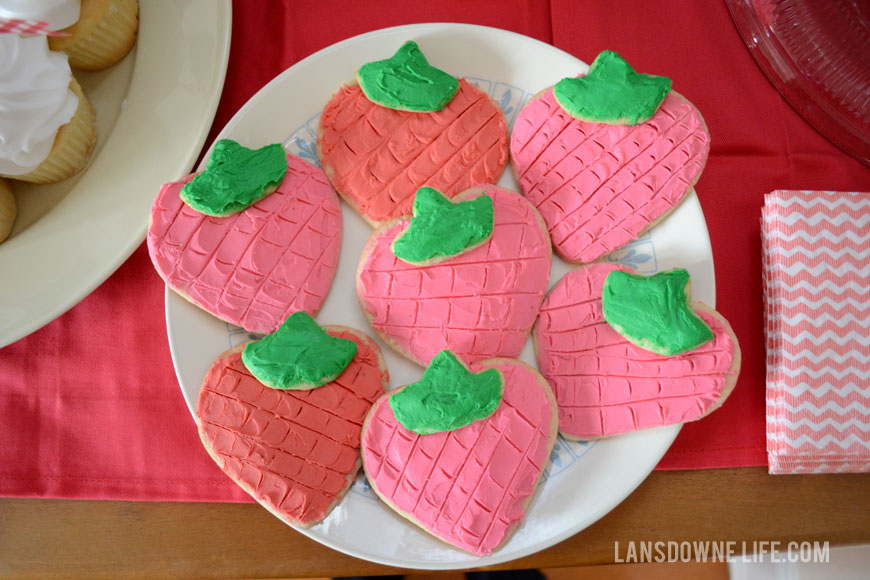
This was the year I really made an effort to do simpler birthday parties for the kids (yeah, restraint takes effort!) and that was also reflected in the documentation of them (or lack there of). We re-used banners and decorations from past parties. Ordered pizza instead of stressing out over the menu. If there was a shortcut […]
- 1
- 2
- 3
- …
- 141
- Next Page »